DIY Gun Mat: Turn a Yoga Mat into a Protective Surface for Gun Cleaning
DIY Gun Mat: Turn a Yoga Mat into a Protective Surface for Gun Cleaning
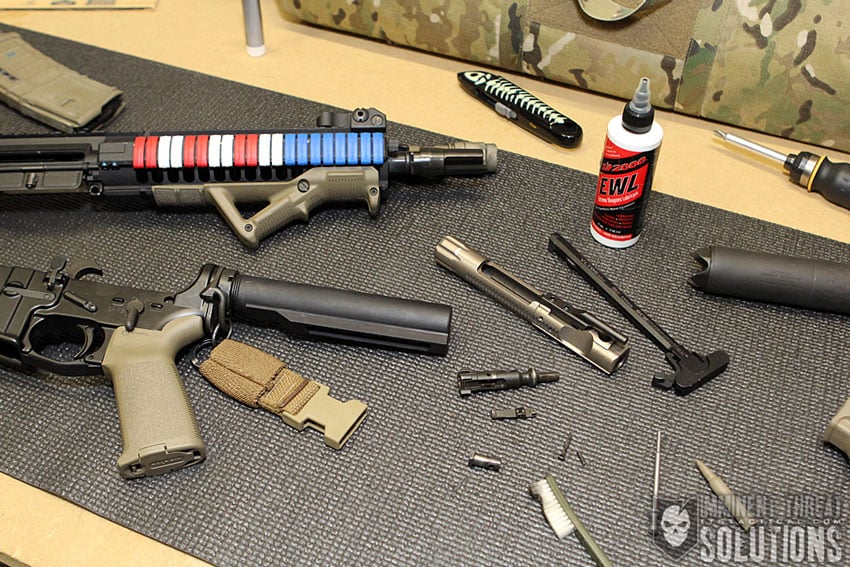
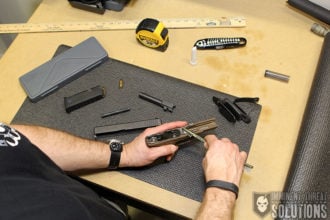
Tried Yoga and found that it’s not for you? Now you have something to do with that mat that’s been collecting dust. Honestly, Yoga Mats are good for a lot of things and today, we’ll be turning one into a simple gun cleaning mat to protect your workbench or any surface. There are quite a few gun mats available out there and some are even relatively inexpensive, but for around $12 you can pick up a 68″ x 24″ Yoga Mat and make both a pistol-sized mat and a rifle-sized mat. Plus get it in just about any color you want.
Another benefit to using a Yoga Mat like we’ve used, is that at an 1/8″ thick, they roll up nicely to store and are fairly low-profile on a table. The version we link to also resembles tool box liner material that helps keep things from moving around, but doesn’t have all the holes in it to lose small parts.
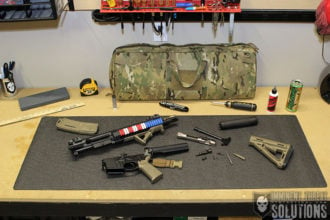
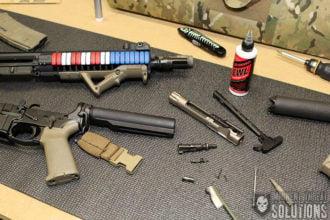
As mentioned, we were able to get one 12″ x 24″ pistol mat and another 18″ x 48″ rifle mat out of our Yoga Mat, but you could make quite a few different variations with the original 68″ x 24″ size. Specifically 5 of the pistol sized mats if you and a few friends wanted to split materials, or even just make enough to toss one in a portable cleaning kit as well.
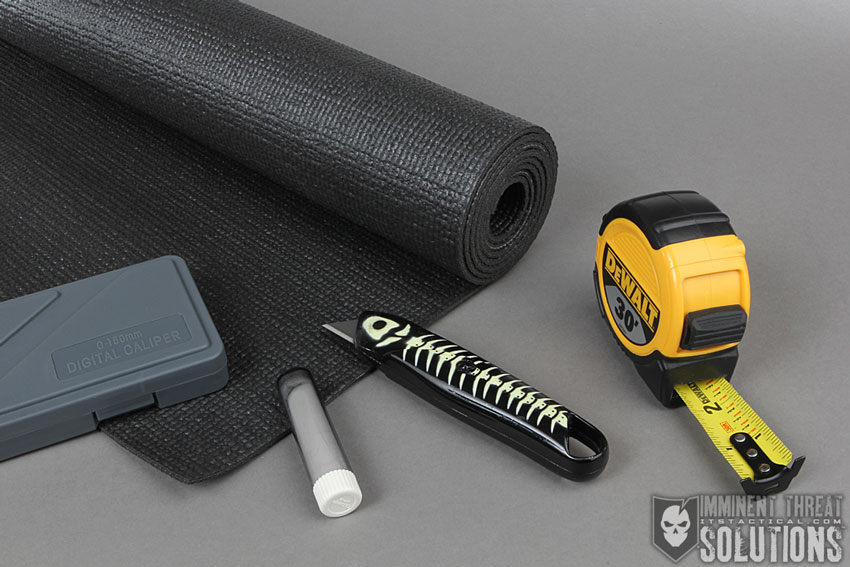
Materials Needed
- Yoga Mat (68″ x 24″ x 1/8″ thick)
- Tape Measure or Yard Stick
- Box Cutter or X-Acto Knife
- Chalk Wheel/Marker
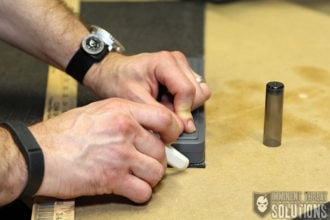
- Rounded Edge – Optional (we used the corder of a Caliper Box)
Process
Step One: Measurement
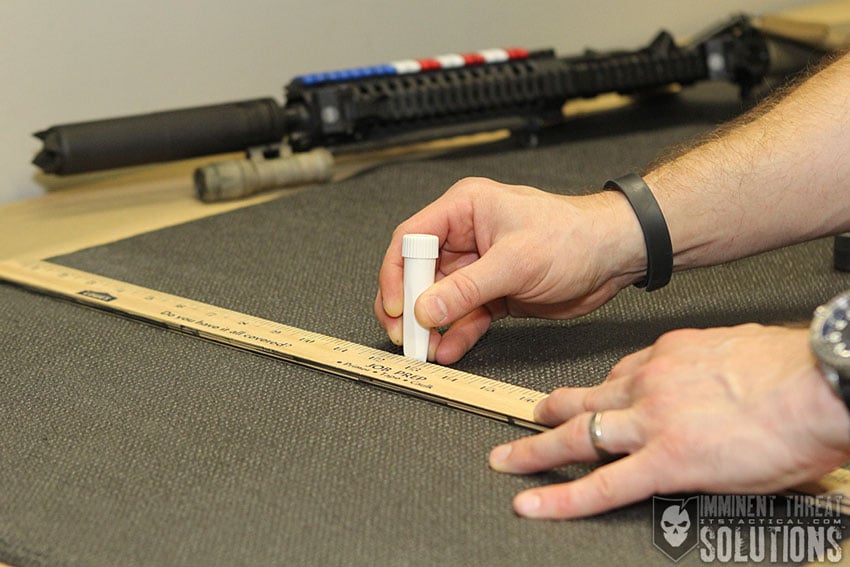
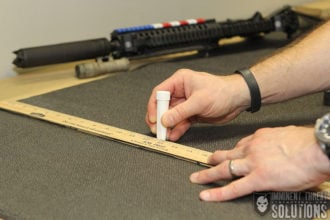
- Roll out the Yoga Mat and decide on the sizes of mats you’ll be cutting. We rolled ours out with the long size being the width and then measured 12″ from the left edge, giving us the 12″ x 24″ pistol mat. The remainder was used to measure 6″ down from the top to make the 18″ height and then 48″ in length was measured from the new left edge we created when cutting the first pistol mat.
Step Two: Marking
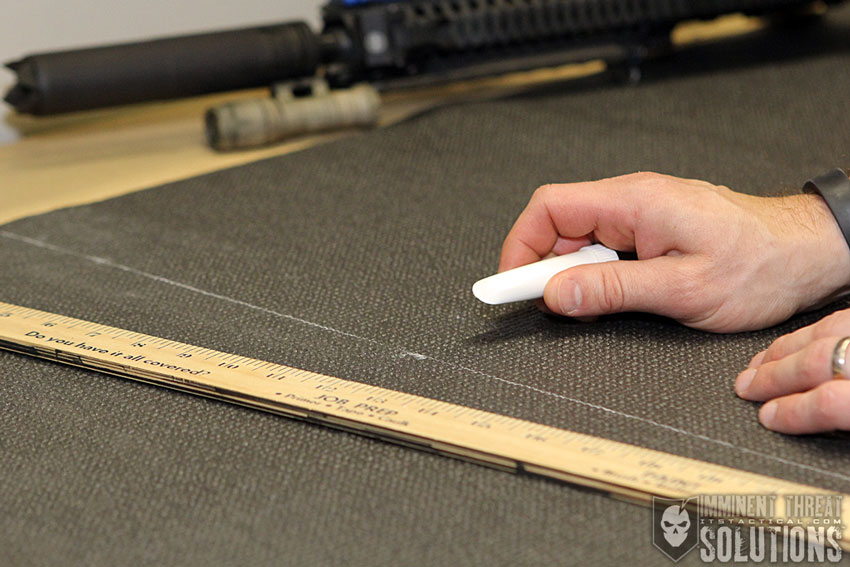
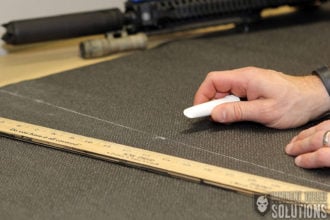
- After measuring, be sure to follow it up with a chalk marker of some kind. We used a tailor’s chalk wheel, which puts a thin line of white chalk onto the surface and is refillable. It’s a good investment, especially if you ever need to mark fabric to cut.
Step Three: Cutting
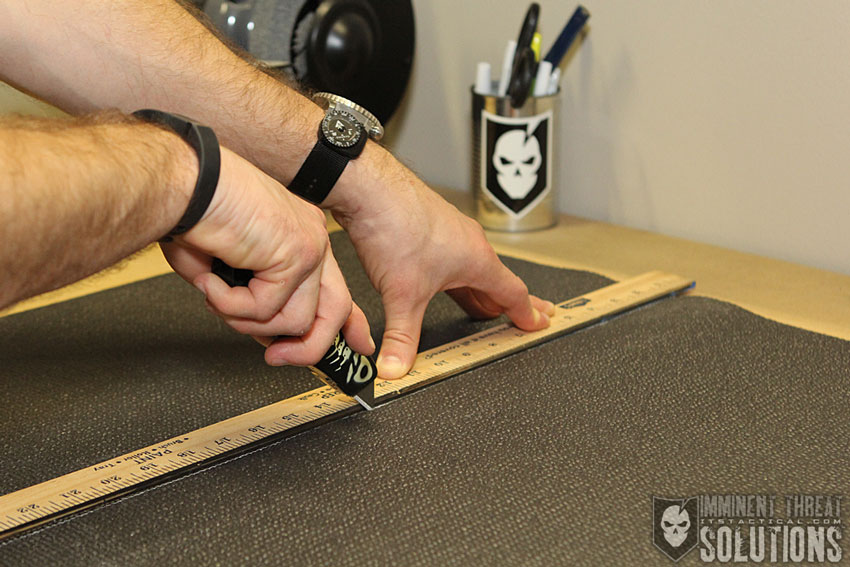
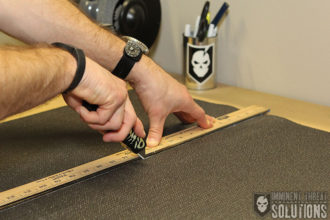
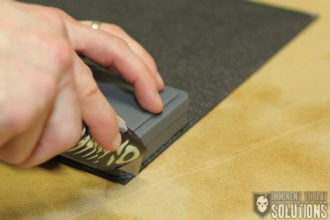
- Once you have your lines on the mat, use a straight edge of some kind to cut against. A Box Cutter with a new blade works great, but an X-Acto is perfectly fine with the 1/8″ thick mat. An optional step here is additionally tracing rounded edges onto the corners and trimming them up. The rounded edges make for a cleaner looking mat and help mitigate the corner catching on something.
Step Four: Enjoy!
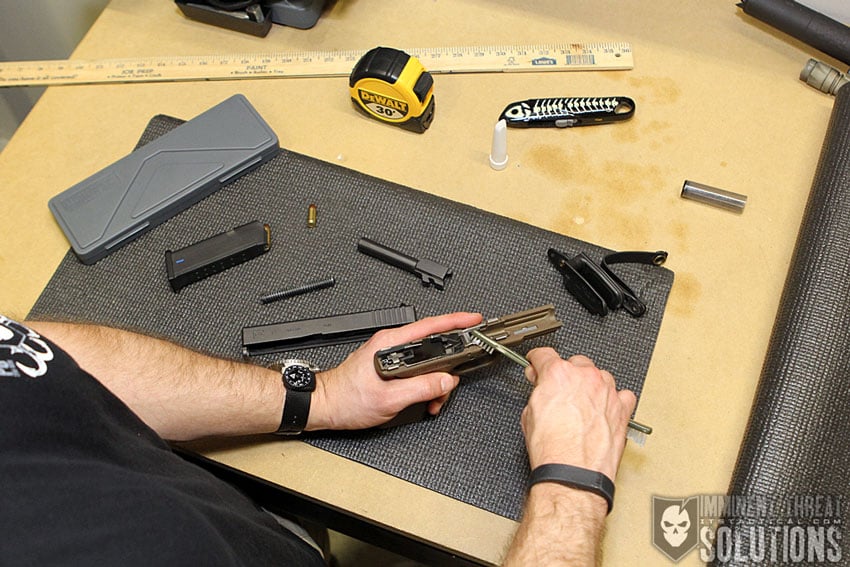
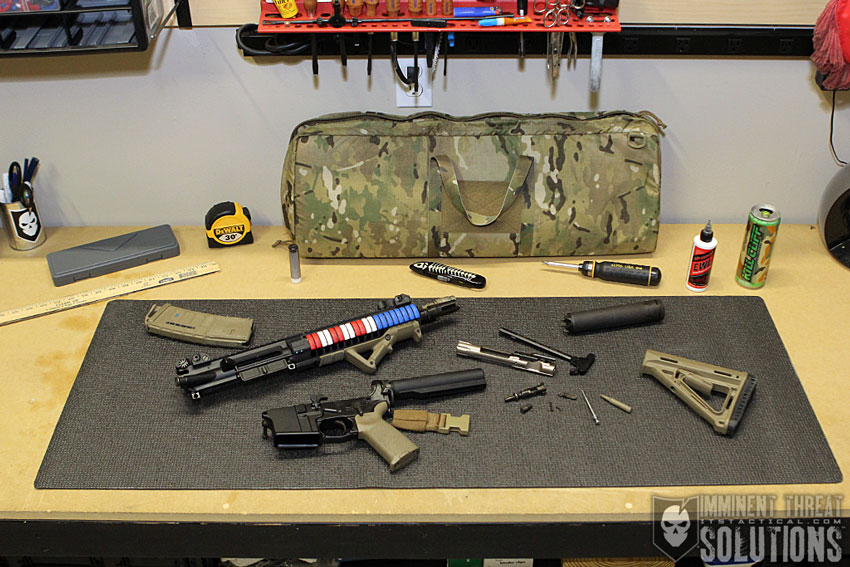
- You’re now ready to use your new gun cleaning mats and revel in the fact you made them yourself!
Photo Gallery




Discussion