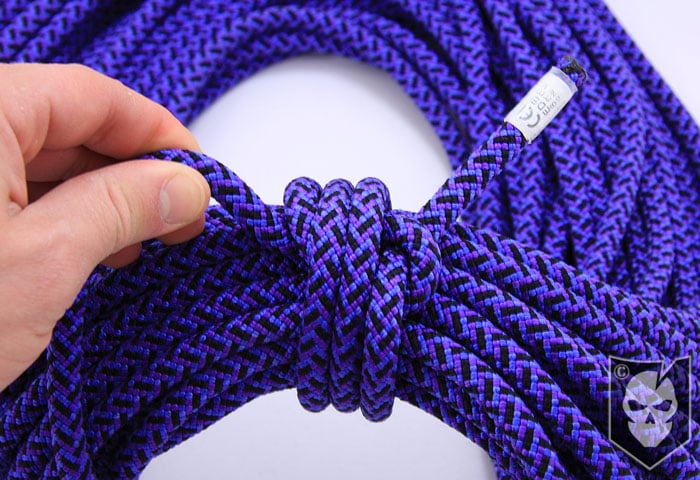
The Knot of the Week picks back up today after a short hiatus due to our Camouflage Comparison.
This week we’ll be going over the the Alpine Coil and how it can be used to help keep your rope ready for imminent use.
If you’re climbing or working in an area where you know you could have to deploy a rope at a moments notice, an Alpine Coil is one of the best ways to carry a rope.
An Alpine Coil stands apart from other rope coils for this exact reason, untying other coils can be time consuming and seconds count in an emergency situation.
By simply pulling the working end out of a bight and unwrapping a few turns, you’re left holding the end of the rope in one hand and throwing the remainder with the other.
As long as you’ve coiled the rope correctly, ensuring that each loop stacks on top of the latter, you’re rope should deploy perfectly.
Before throwing, the standing end should be properly anchored.
Alpine Coil » Coils
(Strength: 5/Secure: 5/Stability: 4/Difficulty: 3)
Please refer to our Knot of the Week introduction post for a description of what these ratings mean.
Uses:
- Coiling rope for imminent use
- Can also be used to store rope
Tying Instructions:
- Coil the rope, ensuring that the starting end is in your hand at the top of the coil
- As you’re bringing the last coil past the top, form a bight in the working part
- Take the remaining working part and make a few wraps around coils, ensuring you trap the staring end in the wraps
- *Don’t make too many wraps here, as it defeats the purpose of having a rope ready to go for emergencies*
- You should wind up with just enough of a working end to feed it through the bight after your wraps
- To tighten up the bight, simply pull on the end not involved in the wrapping
View the gallery or YouTube video below and follow along with the steps above!