When we left off last week with part one, I’d gone through setting up the necessary trunk line to hang your tarp shelter.
Today, I’ll cover attaching the tarp to the trunk line using a Prusik Loop and Prusik Knot. The Prusik Loop is created by tying a Double Fisherman’s Knot. I’ve linked to our previous posts covering these knots, and have also walked through them in the video below.
The biggest benefit of using the Integral Designs SilTarp, is that it features an external center tie loop. Why is this important? If you haven’t had the pleasure of rain wicking down a trunk line underneath a tarp, and dripping on your face while you sleep, then by all means please experience it.
For the rest of us, you’ll see why this is a great feature of the SilTarp. Let’s get into talking a little about the tarp and the attachment method.
Integral Designs SilTarp
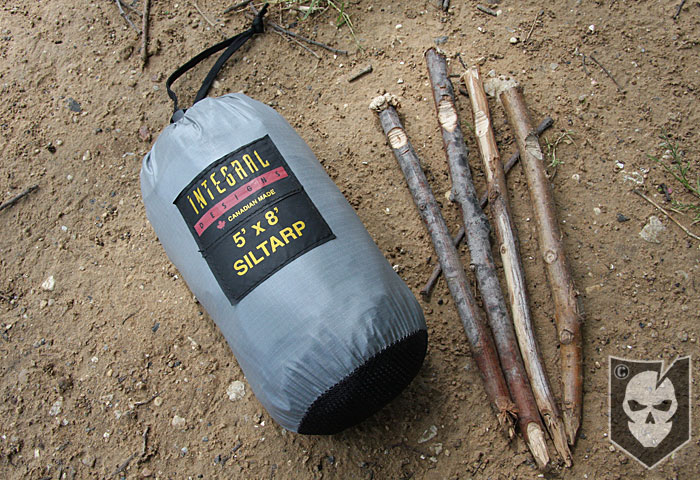
Weighing just 7.1 oz with the stuff sack, the 5″ x 8″ SilTarp is made from 1.1 oz ripstop nylon impregnated with .25 oz silicone. It features 16 lightweight nylon webbing attachment loops on the edges and corners, with one center loop on a reinforced patch.
As you’ll see in the video, the tarp is carried with guy lines and Prusik Loops already attached, as well as the trunk line. With the whole kit stuffed in the sack, it measures 7″ long by 3.5″ wide, with a circumference of 11″. The 115.5 feet of paracord carried with the tarp brings the total weight to only 14.2 oz.
Yes, that’s 115 feet of paracord at your disposal, should need it. The trunk line is 30 ft., primary guy lines are 8 ft., secondary guy lines are 5 ft., tertiary guy lines are 6.5 ft., and the Prusik Loops are each made with 2.5 ft. of paracord. That will all make sense once you watch the video below.
One thing to keep in mind with this tarp is that its a single person tarp, Integral designs makes larger SilTarps, but this is one I’ve carried in my truck for two years just in case. Of course it could always be rigged up differently to accommodate more people if needed. Also, all the Integral Designs SilTarps need to be seam sealed with silicone sealant, like McNett’s SilNet. Do this when the tarp is brand new too.
Attachment
As noted previously, we’ll be using the outermost attachment points of the tarp folded in half, including the external center point. This will give us three attachment points, and the ability to create a triangle-like shelter from the tarp.
Instead of reiterating what I go over in the video, I’ll defer to that for instruction on attaching the tarp and an explanation of the guy line system.
Double Fisherman’s Knot » Bends
(Strength: 5/Secure: 5/Stability: 4/Difficulty: 3)
Prusik Knot » Hitches
(Strength: 4/Secure: 4/Stability: 4/Difficulty: 4)
Please refer to our Knot of the Week introduction post for a description of what these ratings mean.
For instructions on tying these knots please refer to these video above, or our original write up on each of these knots found here Double Fisherman’s Knot (Prusik Loop) and here Prusik Knot
Notes
Join us next week as I finish up the final article and video on Rigging a Tarp Shelter, going though tying the guy line knots and showing how everything packs away. Until then, let me know what you think of the series. Do you carry a tarp like this with you in your vehicle for emergencies?
Links to part 1 and part 3 so you can tie this all together!
