Drink Up: Learn How To Always Have Clean and Potable Water Using Filtration
Drink Up: Learn How To Always Have Clean and Potable Water Using Filtration

There’s a wilderness survival axiom, known as the Rule of Threes. This rule speaks to the importance of prioritizing actions in a life-or-death situation. Basically, it boils down to this: you can live without air for three minutes, you can survive in a harsh climate for three hours without shelter, you can survive for three days without water and you can live for three weeks without food.
While survival is obviously more complicated than that; if you’re in freezing water for example, you’re not going to last three hours without shelter or if you’re expending energy by exerting great physical effort, you’re going to need water sooner than three days, but the basic lesson is solid enough to be helpful.
Unsurprisingly, what applies to wilderness survival also applies to urban survival. The purpose of this article is to focus on how to obtain clean, potable water and though I’m approaching this from the perspective of an urban environment, the equipment I’ll be going over is also equally functional in a wilderness setting.
Editor’s Note: There are three types of pathogens you’ll encounter in the great outdoors; protozoa, bacteria and viruses. A few examples of what these pathogens include are Giardia and Cryptosporidium in the Protozoa group, Bacteria includes E. Coli and Dysentary, with Hepatitis A and Rotovirus rounding out the Virus group. The last group isn’t as much of a threat as the others in US water sources, but still important to consider. It’s important to choose a filtration device that eliminates all three groups to ensure that the water you’re drinking is the safest it can be.
What Are You Preparing For?
I live in San Francisco, a city with roughly 800,000 humans living within its borders. Being a reasonably modern city, homes and businesses all have running water, electricity and an infrastructure that supports such niceties. Even with this infrastructure though, things can go wrong.
San Fransisco is sitting on a few geological fault lines and a major earthquake could destroy the pipes that deliver water to residents, fracture and deplete the emergency reservoirs located around the city and obliterate the pumps that bring the water from the Sierra Nevada Reservoir that provides that water.
For those that consider themselves prepared for such a situation, the obvious short-term solution is to store potable drinking water for these types of events. However, what do you do if your three-week supply of water runs out before normalcy is returned? What if normalcy isn’t returned at all and there’s no way of knowing when it will be?
It’s a good policy to know where you can obtain water for use ahead of time. San Francisco has no rivers, but it does have a handful of man-made lakes, generally located in public parks. While you wouldn’t want to simply go get a few gallons of that water and drink it, it’s perfectly serviceable water, provided you have the means to first purify it for human consumption.
Boiling is Best
The best way to purify water is to boil it. I don’t feel much need to explain how boiling water works; chances are you’ve boiled water at some point in your life. If you haven’t, you’ve got some remedial work to do before you continue with this article. A basic rule for purifying water by boiling is if you’re under one mile of elevation, you should boil water for one solid minute; over one mile in elevation, triple that time. Though it doesn’t hurt to boil it longer, just to be safe.
However, let’s say your gas stove isn’t working (not too far-fetched a situation, given you’re also suffering from a lack of running water in this entirely possible scenario) and you don’t have a camp stove to use. Let’s also say that you can’t get your hands on wood to burn, or can’t burn wood because of the potentially ruptured gas lines in the area. There are still a number of devices that you could use to purify water in order to stay alive.
We’re going to take a look at six such devices that I took to Golden Gate Park’s Stow Lake for testing. Stow Lake is a man-made lake with no water entering or exiting it at any point and is populated with ducks, swans, tourists, garbage and a thick, frothy foam that collects around its shores.
Vapur Microfilter
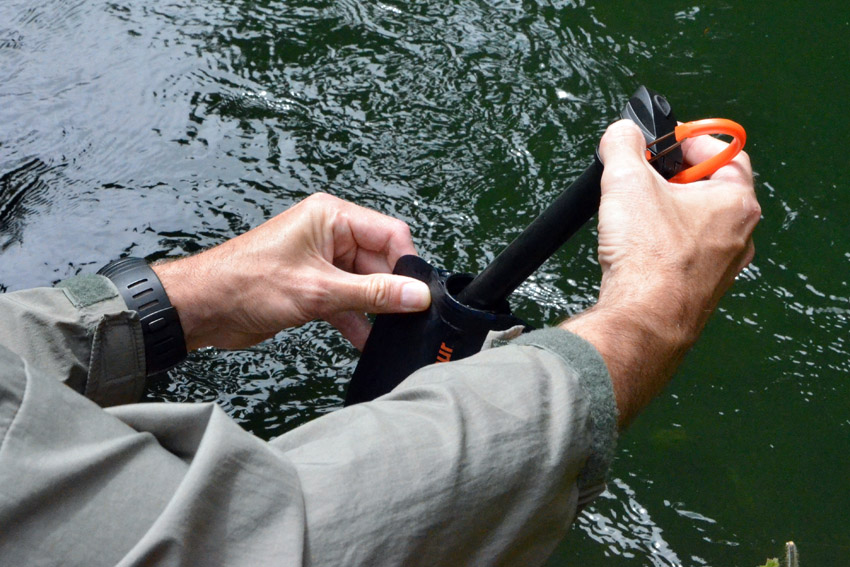
Those familiar with ITS will already know about the collapsible bottles made by Vapur. Vapur also makes a water filtration device they call the Vapur Microfilter. The filter screws into the top of a Vapur bottle and uses a hollow fiber membrane to filter out 99.9% of bacteria and protozoa (obviously anything larger than those, as well.) Including the bottle, the whole system weighs in at 2.7 ounces.
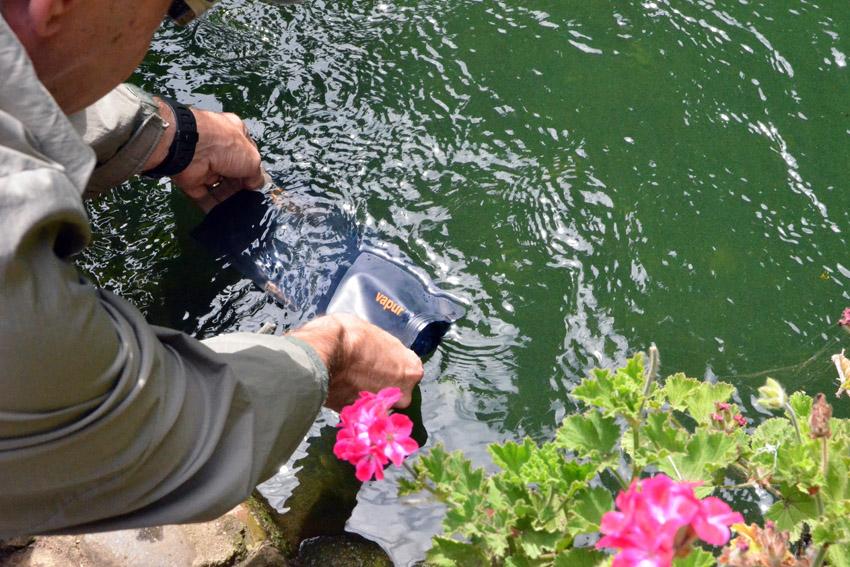
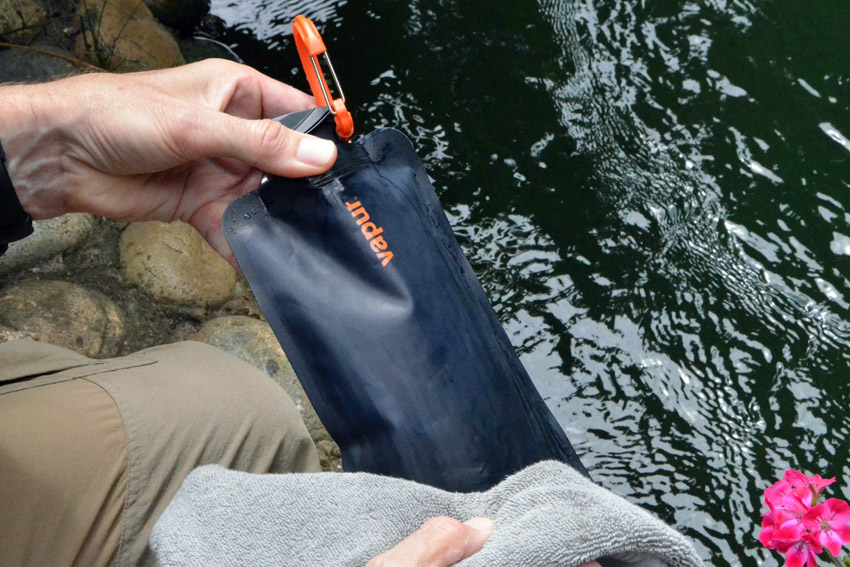
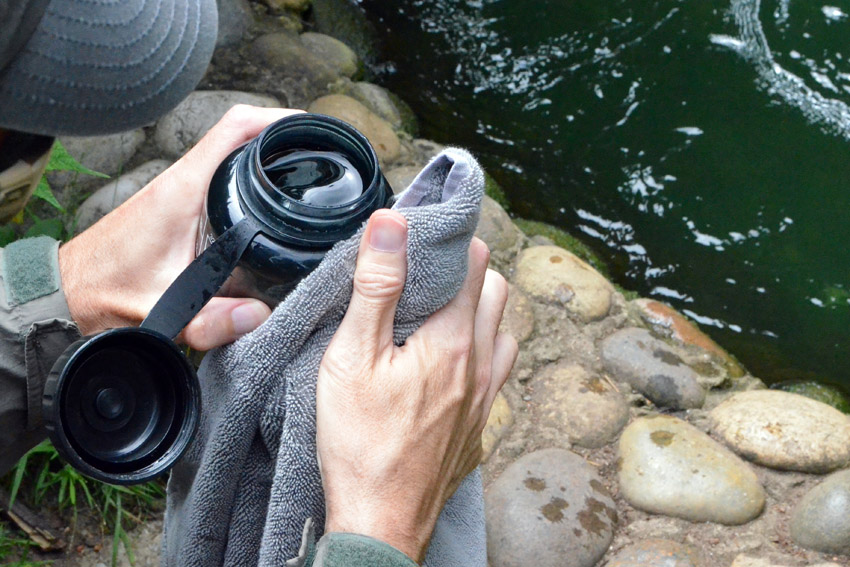
Using the system is simple; unscrew the filter/mouthpiece top from the bottle, submerge the bottle in your dirty water source, screw the filter/mouthpiece back in, make sure you towel the bottle and mouthpiece off so that there is no dirty water on the outside and then proceed to drink from it. The bottle will hold up to a liter of water and costs roughly $40.00 from a variety of sources. I’ve used the Vapur Microfilter bottle on a number of camping trips and love it.
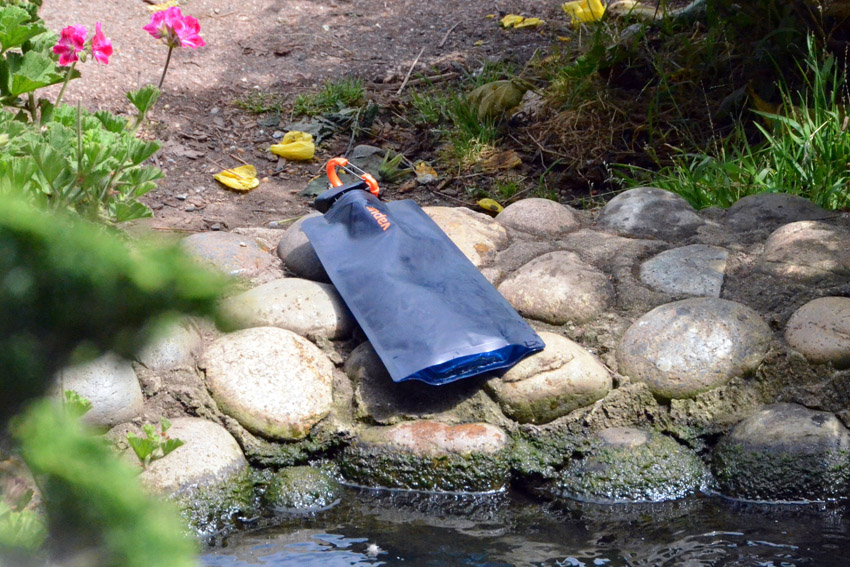
You can clip the bottle to the shoulder strap of a pack and carry it around with you. It’s easily accessible at all times and you can refill it whenever you need to, knowing that most water sources (even if they’re sketchy) are going to be safely purified by the filter.
LifeStraw
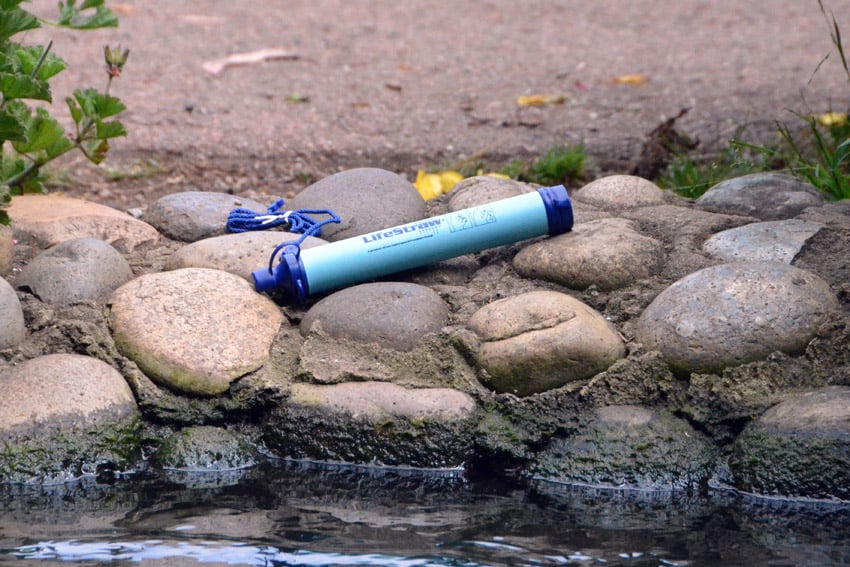
The LifeStraw Personal Water Filter is probably the simplest solution to obtaining clean water; it’s pretty much exactly what it sounds like. LifeStraw uses the same hollow fiber technology to filter out the same percentage of the same threats as the Vapur Microfilter.
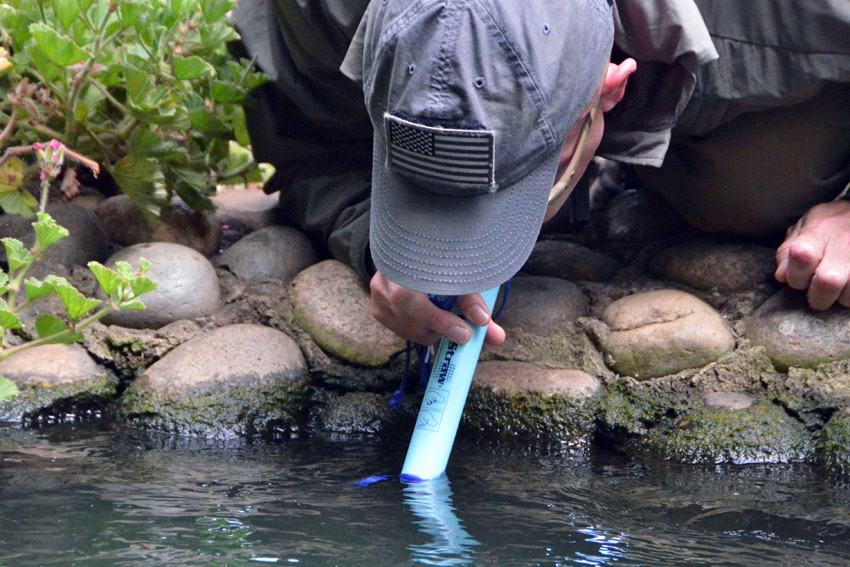
To use the LifeStraw, simply place the wide end of the device into the water you want to drink from and suck on the mouthpiece end. While I tested this by getting close to Stow Lake’s stagnant water, you could also collect a bottle of dirty water and just use the LifeStraw to drink from it as needed. The LifeStraw weighs 2 ounces and costs about $20.00.
MSR MIOX
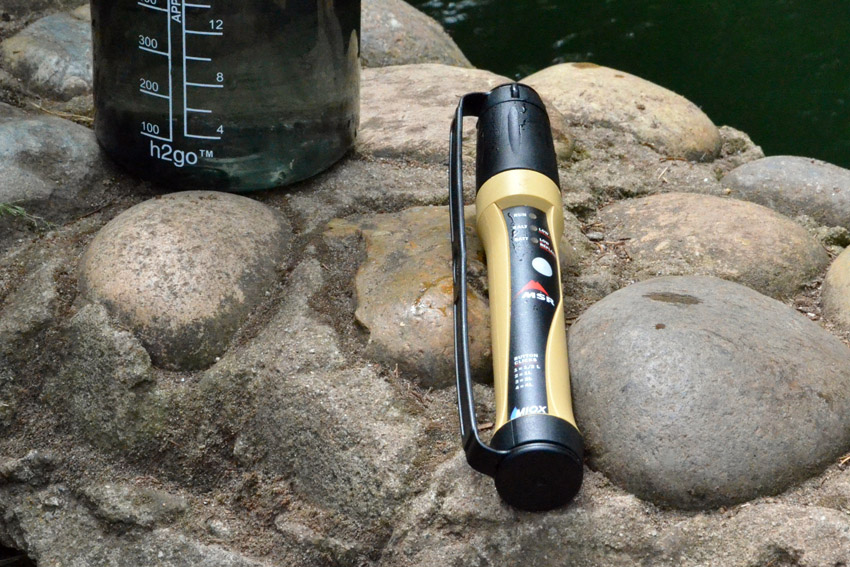
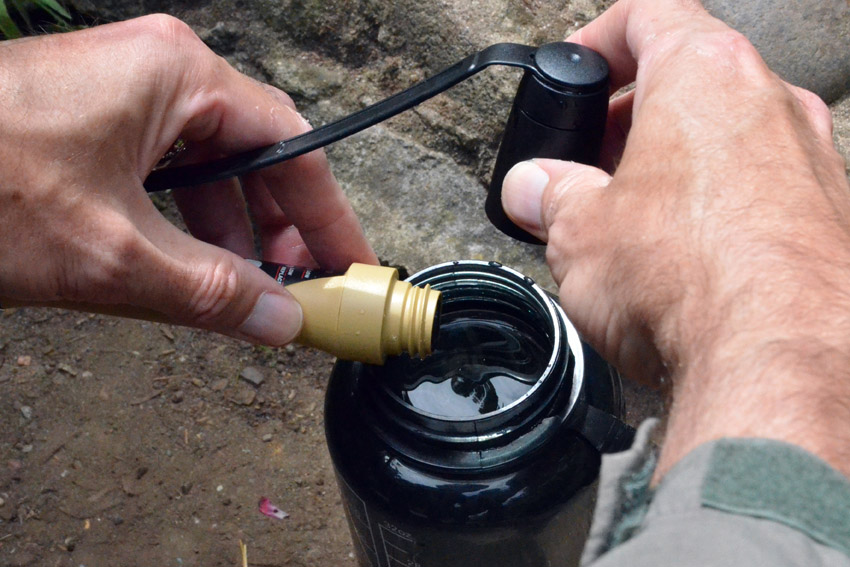
The MSR MIOX in the form tested, has been discontinued. The successor to the product is the H2Go Purifier, which uses the same process to purify water, though with an improved ease of use and slightly smaller form factor. MIOX stands for “mixed oxidants” as the MIOX filter combines rock salt, water and electrical current to produce hypochlorite and hypochlorous acid.
These are then added to the collected dirty water and take a significant amount of time to disinfect it. One immediately noticeable problem with the MIOX process is the waiting period it requires. Depending on the contaminant, you’ve got to wait between fifteen minutes to four hours for the solution to kill off the nastiness.
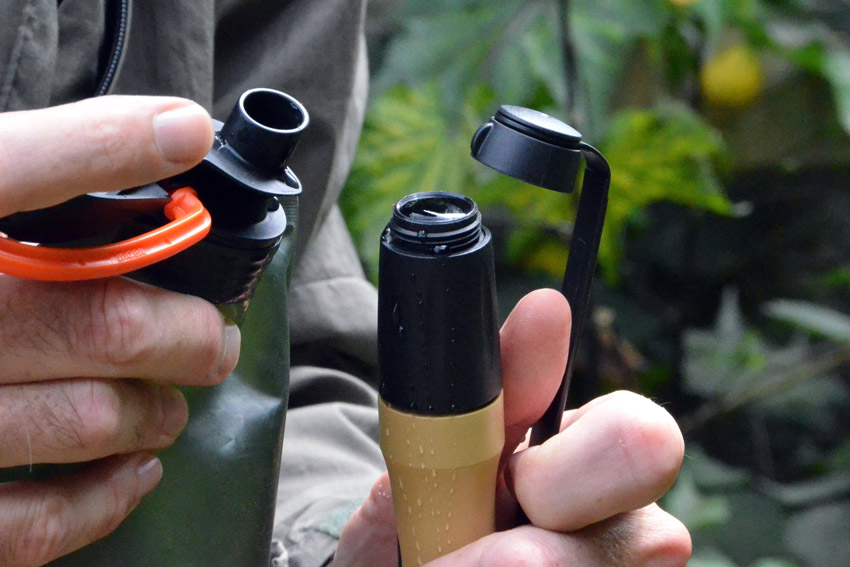
Most of the time you aren’t going to know what nastiness is in the water, so to be safe, you should wait the full four hours. Another problem with the MIOX is it requires batteries (two CR123s), rock salt and test strips, which are used to determine whether the water is safe to drink or not. Once you get the hang of using the MIOX, you could likely skip using the test strips, but the requirement of rock salt and batteries are a constant and in a disaster scenario, relying on the MIOX means eventually that’s going to be a problem.
As for the results of the MIOX process, the purified water could benefit from adding a filtering process as it tastes a little bit like a mouthful of swimming pool water due to the chlorine. The MIOX is meant only to kill off bacteria and protozoa, so if you’ve got bits of leaves, twigs, hair or other bonus goodies in your dirty water, they’re all still going to be there after the four hour waiting period is finished.
In many ways, the MIOX performs a similar role to iodine tablets or the Aquamira tablets or drops (even though the Aquamira products treat all three types of pathogens.) It’s not a filter, but it treats the water in order to destroy small organisms which might serve to destroy you. Ideally, you want to do both filter and treat your water. In the field, that could be as simple as collecting your water through a cloth or other porous barrier before beginning the treatment process.
For me, the MSR MIOX isn’t a favored solution; it’s too complicated, has too many “moving parts,” takes too long to complete the process and too many things can go wrong with it. I don’t mind the chlorinated taste of the purified water, it isn’t any worse than the taste of iodine-treated water, but in difficult circumstances, I don’t want to have to wait four hours between the time that I collect my water and the point at which I can start drinking it.
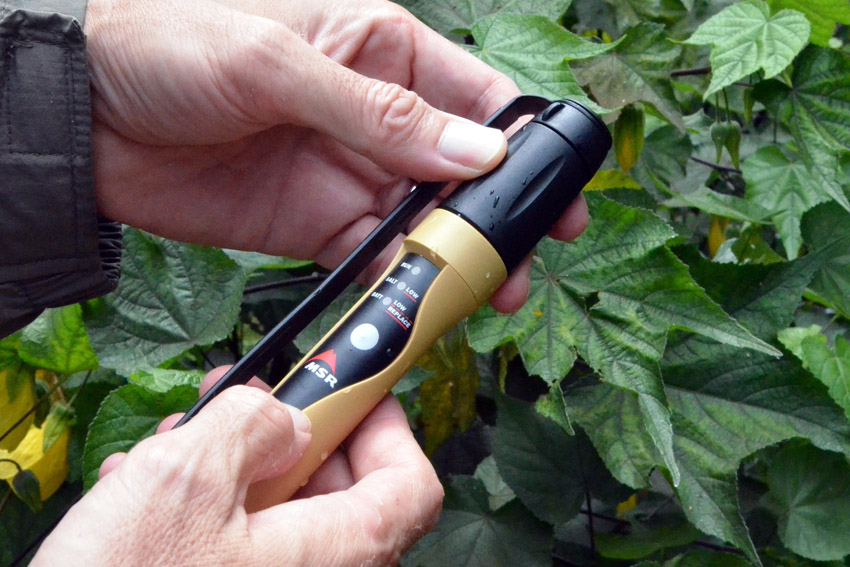
The MIOX is no longer commercially available and its replacement, the H2Go Purifier, has made some significant advancements on the MIOX’s technology. The new H2Go allows for the use of any salt (not just rock salt) and provides the ability to recharge the battery for the device via USB or an integrated solar panel.
The original MIOX sold for about $140.00, while the H2Go sells for $120.00. Though I would like to someday get my hands on an H2Go Purifier to test, the waiting period for the solution it produces to purify the water will likely still put it further down my prioritized list of water processing options than some of the other options available currently.
SteriPEN Adventurer Opti
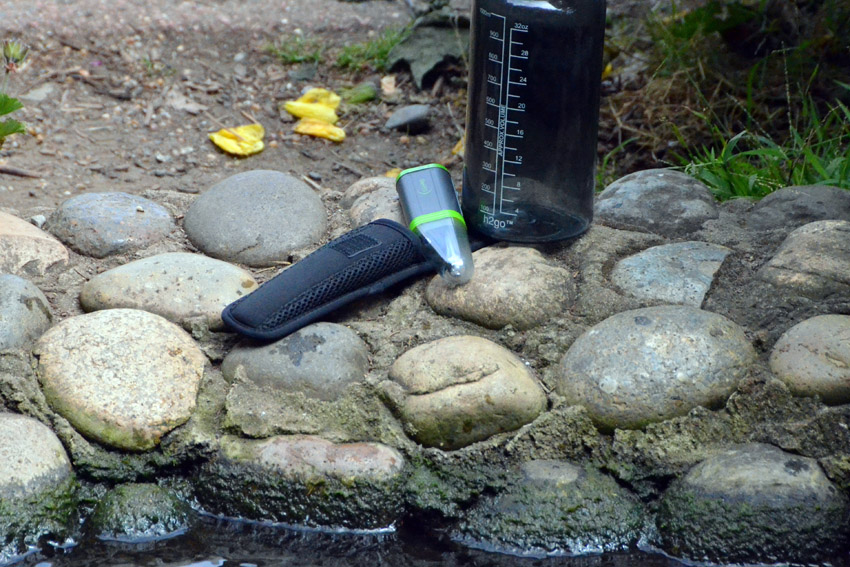
The SteriPEN Adventurer sells for about $90.00 and is a small, hand-held device that uses ultraviolet light to kill off unwanted microorganisms in drinking water. In order to use it, collect your dirty water, pull the cap off the SteriPEN, insert it into the water and press the button the appropriate number of times for your volume of water.
The waiting period for this process to kill off the nasties is 90 seconds for one liter of water. It runs off two CR123 batteries and as with the MIOX, it does not function as a filter, so any solid debris in the water you collected is still going to be there after you’ve used the SteriPEN.
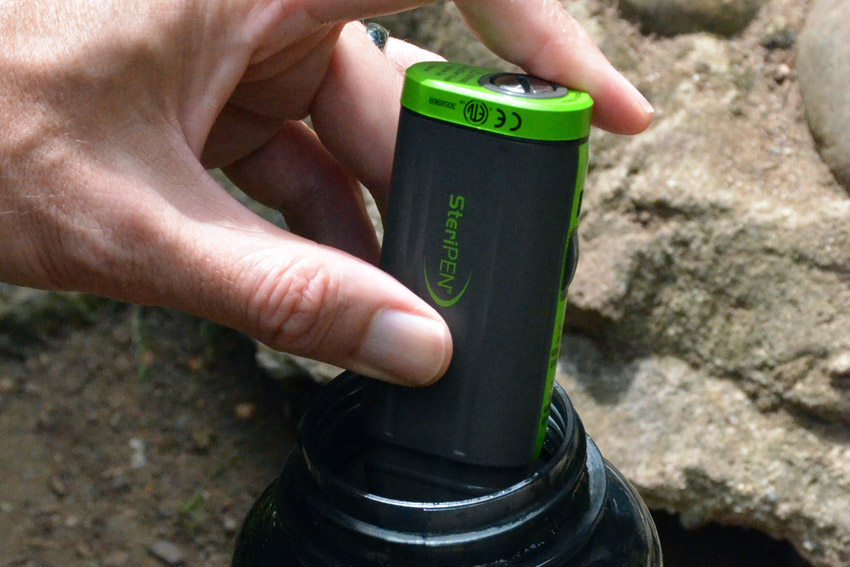
That said, there’s no additional waiting period after the 90 seconds during which the UV light destroys the bad stuff before you can begin drinking the water, so that is a decided advantage. It also doesn’t require any salt, so the only replenishing resources required are CR123 batteries.
I had to replace the CR123s in my SteriPEN for this test, as the batteries I had initially installed around three months before on a camping trip had gone dead. Had I removed the batteries directly after the camping trip, this likely wouldn’t have been a problem.
Still, there is significant appeal in being able to pull the cap off the SteriPEN, insert it into the water, hit the button, wait 90 seconds and then start drinking. It’s an easy device to use and weighs very little, making it convenient to stash this inside a pocket in a backpack. Personally, I wouldn’t necessarily rely solely on the SteriPEN, but would prefer to use it in conjunction with a filter like the Katadyn Hiker.
Katadyn Hiker
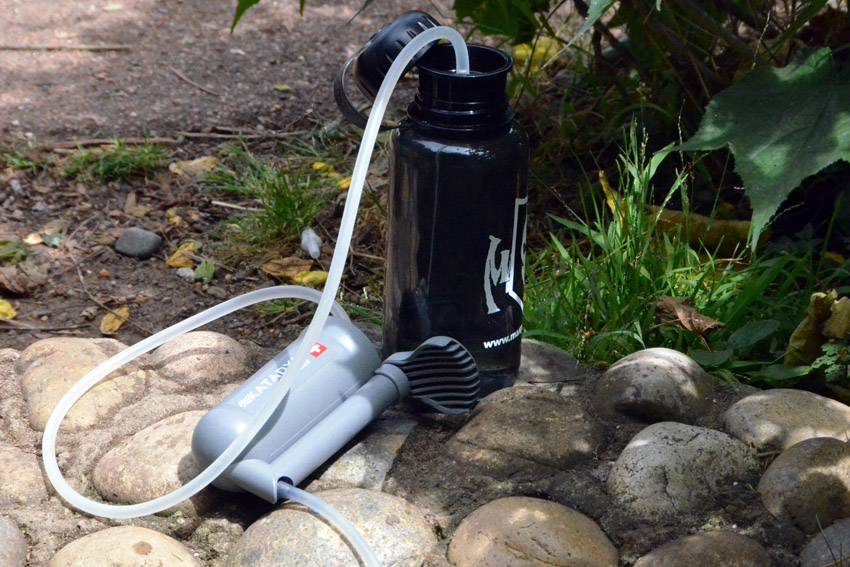
The Katadyn Hiker weighs in at 11 ounces and is a multiple-piece micro-filter and pumping solution for filtering water. It’s basically a hand-powered pump with one tube that leads to the dirty water source and one tube that leads to a bottle cap that’s placed on top of the bottle you’re using. It’s important when using the Hiker to keep your clean water tube and bottle top separated from the rest of the equipment to avoid contamination. Once you’ve got it set up, pump the water through the filter into the clean bottle and you’re ready to drink.
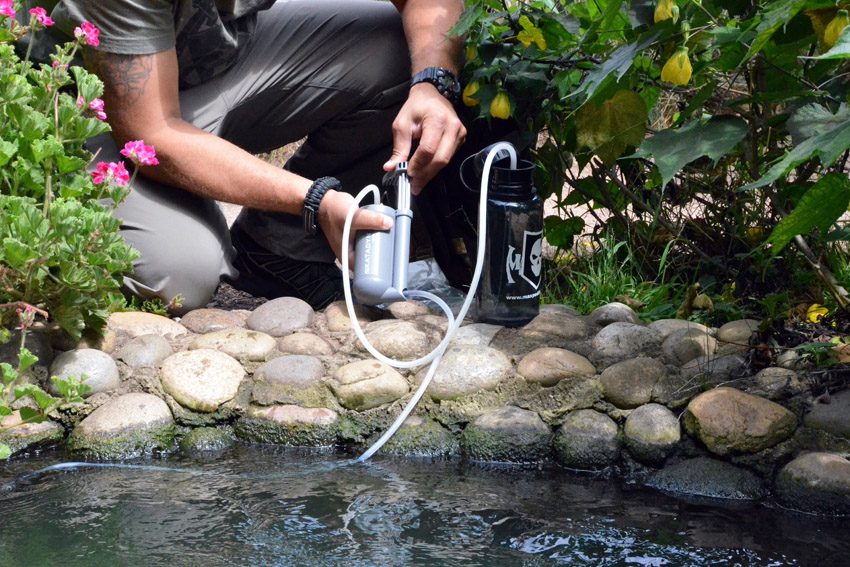
The Katadyn Hiker sells for about $75.00 and is a very popular piece of equipment for backpackers and outdoor enthusiasts. In addition to removing bacteria and protozoa, the filter has a carbon core that helps it remove tastes and odors from water that other solutions don’t. Of the water samples taste-tested, the Katadyn Hiker’s water tasted the best to me. While it takes a few extra seconds to assemble and disassemble the device, it allows you to keep pumping as you fill multiple water bottles.
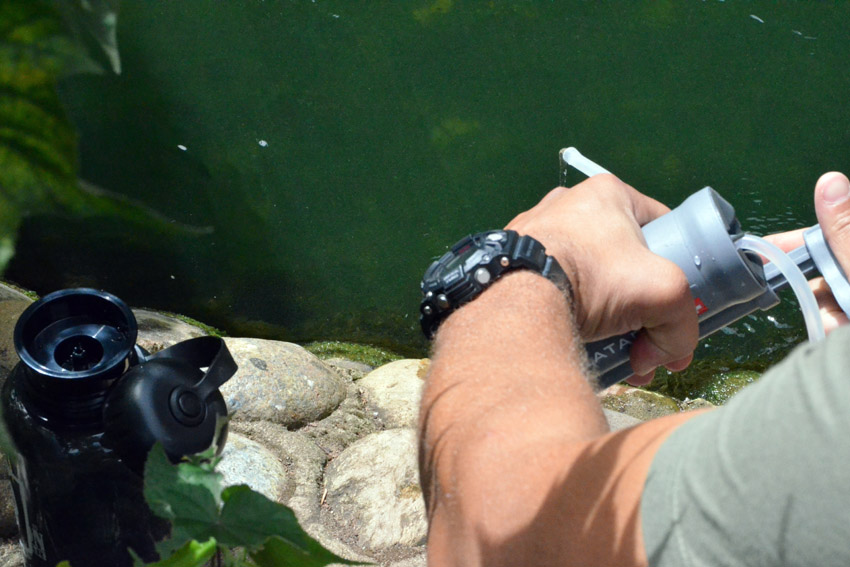
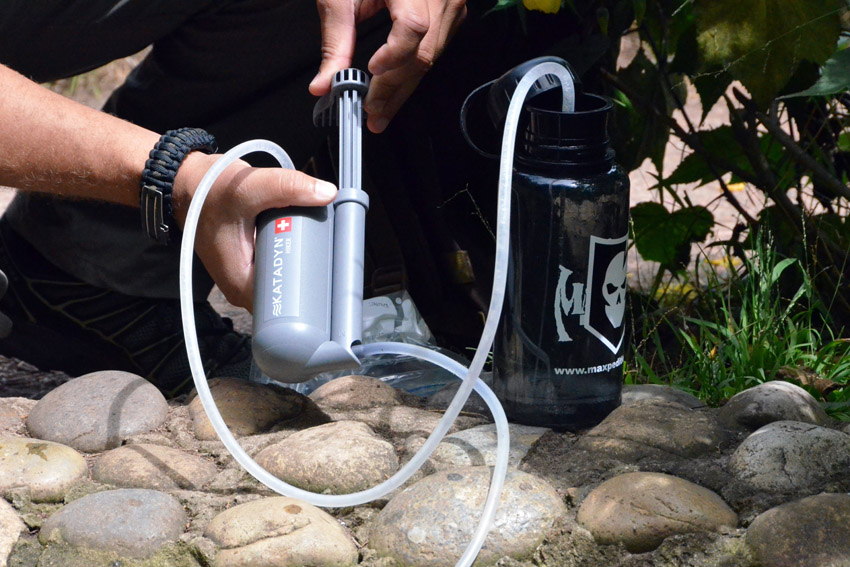
I have multiple five-gallon Sceptre Water Cans that I use to store emergency water reserves and the Katadyn allows for the easy refill of these cans. The only resource it requires is an ability to keep the hand pump going and for this reason, it ranks high on my list of disaster-related water equipment. Depending on the water source, I also prefer to use the SteriPEN on the cleaned water, just to be safe, though that could be some level of paranoia on my part.
HTI Expedition
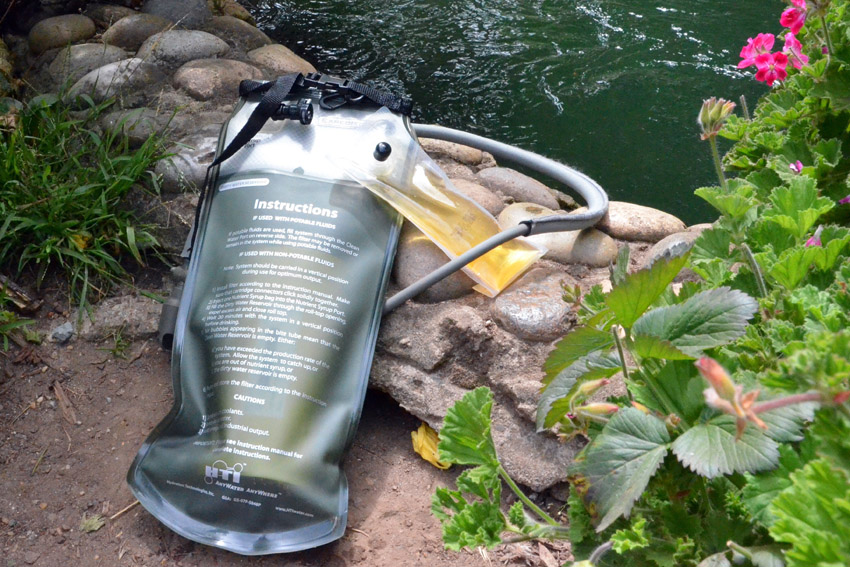
The last device tested was the HTI Expedition, by far the most expensive of the solutions at $300.00. The Expedition is a hydration bladder that holds 3 liters of water and a forward-osmosis filter in a second bladder. This works in conjunction with a special fluid package to take filthy water and turn it into a drinkable, electrolyte-replacing sports drink. It can be used to store (and drink) clean water, which can be poured into the front opening on the bladder. You can also open the top and fill the rear bladder with water from any ditch, river or lake, which is then filtered into the clean water compartment on the front of the bladder.
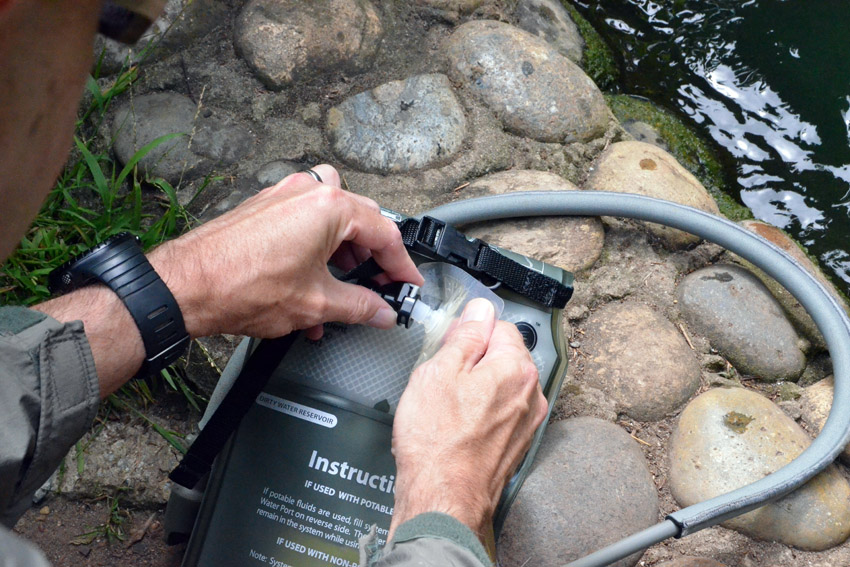
To use the Expedition, first install the filter to the dirty water bladder. Then take one of the sports drink syrup packets and squeeze it into the syrup sub-bladder at the top of the back of the device. Once done, open the top of the dirty water portion of the bladder and dunk it in your dirty water until it’s full.
The Expedition then uses forward osmosis, driven by the sports drink syrup and gravity, to convert the dirty water into a sports drink which is then pushed into the clean water bladder on the front of the device. It can produce 27 fluid ounces per hour and you can start drinking the sports drink it produces in a few minutes after you first start the process.
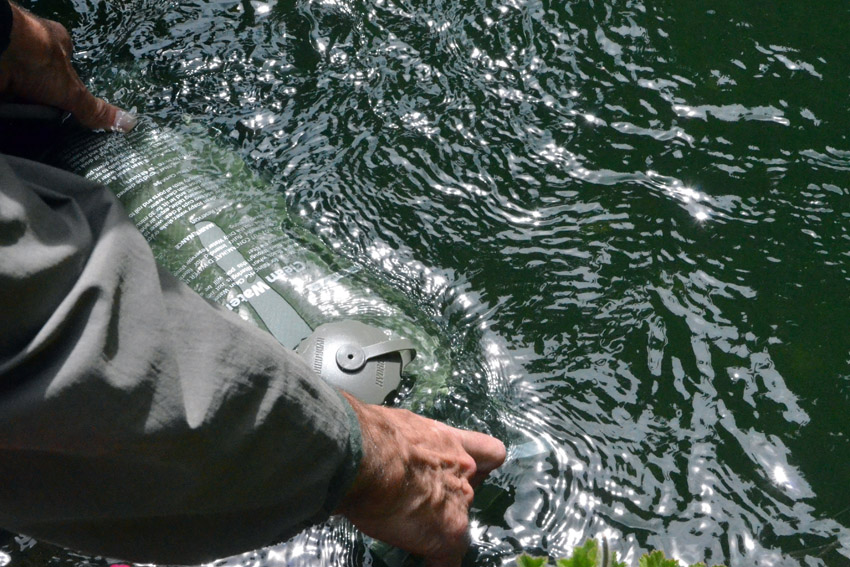
The membrane on the forward osmosis filter has a measured pore size of between 3 – 5 angstroms, where as bacteria measure between 2000 and 500,000 angstroms and viruses measure between 50 to 1000 angstroms. Obviously, this means the filtered water is definitely clear of bacteria or viruses, as well as anything larger than either of those.
The Expedition was developed in conjunction with the Department of Defense and has been tested and prevailed against such nastiness as anthrax. Given that you’re unlikely to randomly find water with anthrax in it, even in a disaster, possibly a more compelling use-case scenario is that the Expedition was successfully used by six stranded soldiers in Iraq to filter urine and the end result was described as “tast[ing] great” by one Captain Eaton.
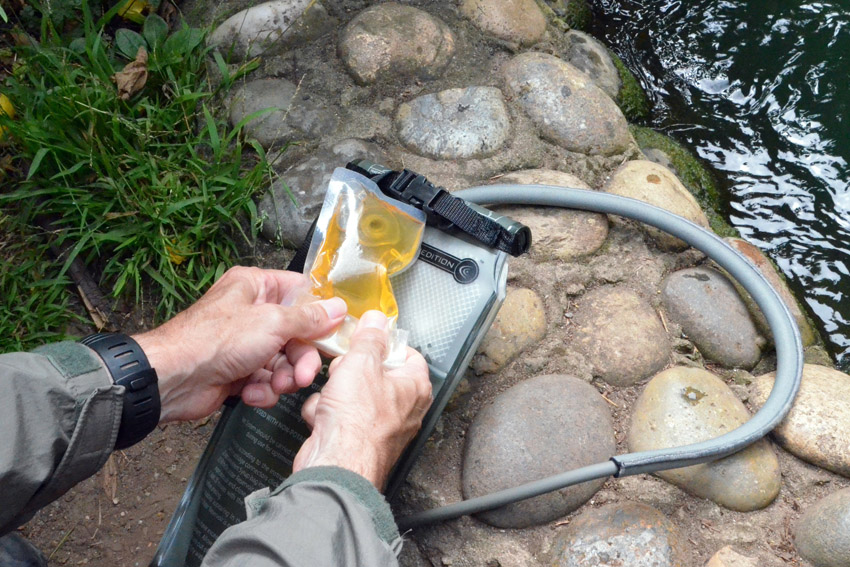
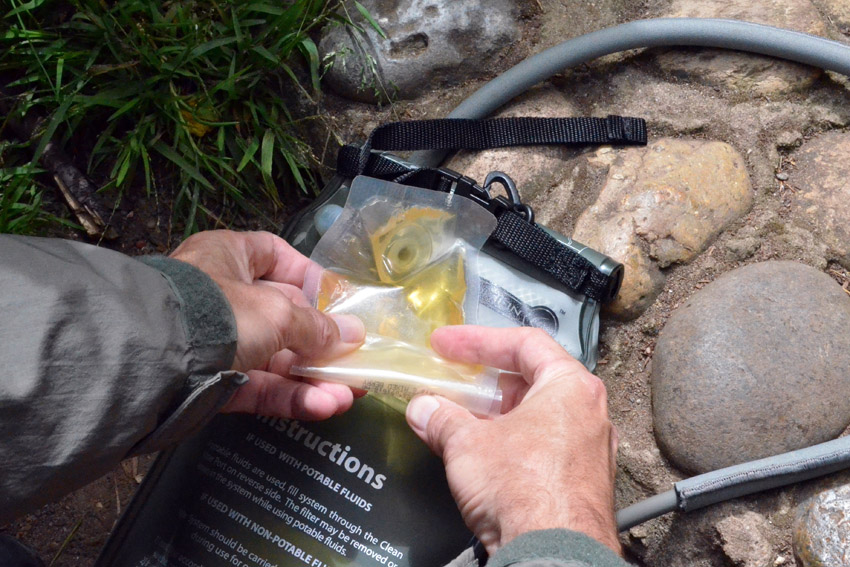
I can say that the water of Stow Lake, rife with duck and swan excrement, tasted like a toned-down, less sugary Gatorade when processed by the Expedition. When finished filling it, I put the hydration bladder inside my pack’s bladder compartment and found myself mindlessly sipping from the drinking tube without remembering that I was actually drinking Stow Lake later in the day. With every other solution tested, I felt some trepidation about tasting it, fearing the gastrointestinal repercussions of my actions later in the day.
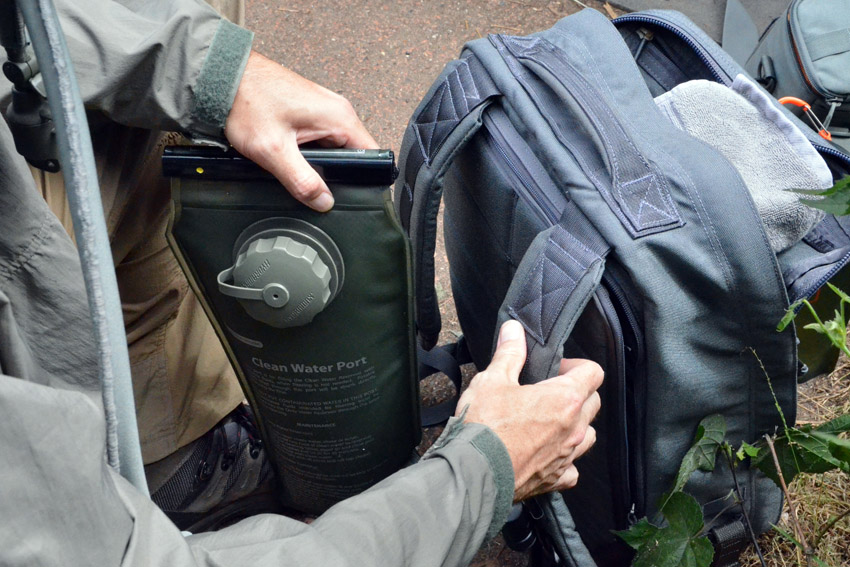
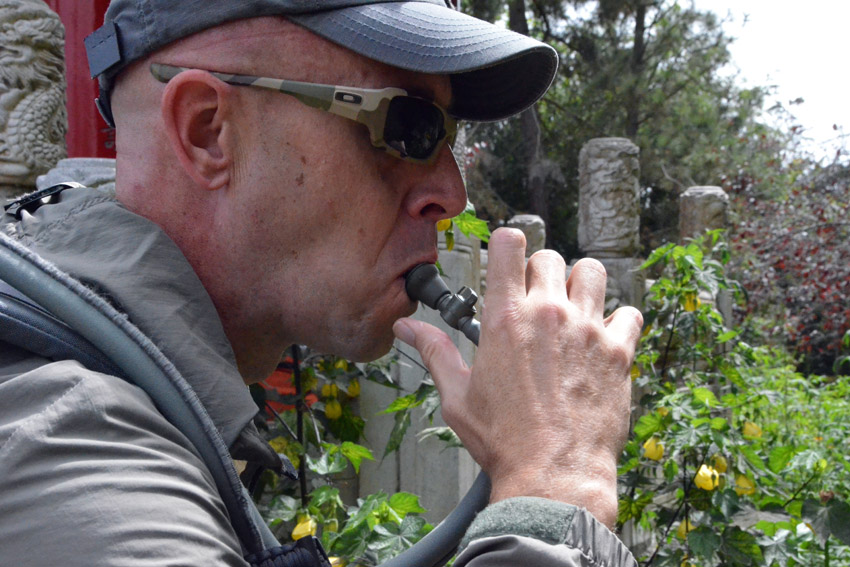
One obvious negative of the Expedition is the requirement for the sports drink syrup in order for proper function. While the bladder ships with a bag full of the syrup packets, it’a yet another supply that will eventually run out in a disaster situation and therefore another supply you must either stockpile in advance, or have a backup plan for when that supply is depleted.
Two is One, One is None
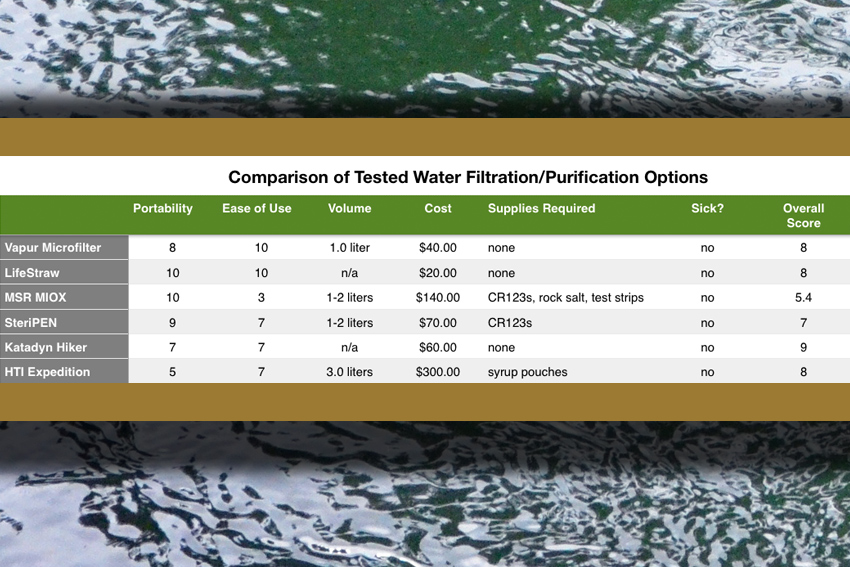
In the end, all of the six systems tested performed their basic functions and passed the test. I was able to drink Stow Lake’s putrid water and not get sick. Some of them required more work than others and some of them required more time. In a real world situation, I would prefer to have more than one option and would like to layer multiple systems. Ideally I would still want to boil any water I had to obtain from a source like Stow Lake, even if I used the Katadyn Hiker to filter it when collected. If I couldn’t boil it, I’d at least want to SteriPEN it.
Each device has its purpose and the way you approach your preparedness will determine what the advantages and disadvantages of each are. No matter what you prepare yourself for, if your infrastructure for some reason disappears, you will still need water. If you can’t carry or keep the necessary amount of clean water for you and your family, you’ll need a means to clean what water you can find. In addition to obtaining a filter or purifier, it’s crucially important that you give some thought to where you would obtain water from in the first place.
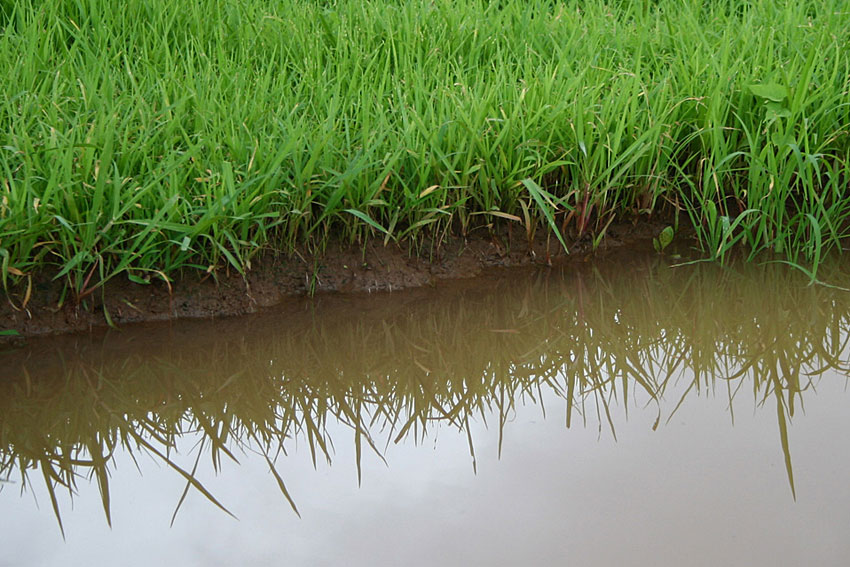
All the equipment in the world isn’t going to help you if you don’t know where reservoirs, springs, lakes, rivers or ponds are. Plan ahead, be familiar with where you live and explore the area if you aren’t familiar with it. Don’t rely on Google Maps, because it may be wrong about where water is and worse yet, it might not always be there for you when you need it.
Once you know where local water is and know how to get there, hopefully you can use the information about these common filters and purifiers to determine what would work best for you and your environment. Make sure you address the potential situation before it’s an actual situation.
Editor-in-Chief’s Note: Matthew Sharp is a Plank Owner and Life Member at ITS and goes by the username “viator.” He lives in The People’s Republic of Northern California and enjoys long range shooting, carrying heavy objects great distances and fuzzy little puppies.





Discussion