DIY AR-15 Build: Bolt Catch Installation
DIY AR-15 Build: Bolt Catch Installation
- DIY AR-15 Build: Introduction, Parts and Tools Required
- DIY AR-15 Build: Magazine Catch Installation
- DIY AR-15 Build: Bolt Catch Installation
- DIY AR-15 Build: Pivot Pin Installation
- DIY AR-15 Build: Trigger Group Installation
- DIY AR-15 Build: Safety Selector and Pistol Grip Installation
- DIY AR-15 Build: Trigger Guard Installation
- DIY AR-15 Build: Buttstock Installation
Today in part three of our DIY AR-15 Build you’ll learn how to install the Bolt Catch on your Lower Receiver.
This step is particularly important to get right, as damaging the roll pin or lower could cause you to have to purchase a new lower parts kit or even a lower in extreme situations. We don’t mention this to scare anyone, just to reinstate the need to use the right tools for the job.
The function of the bolt catch is to stop the bolt’s travel when pushed upward by the follower of an empty magazine. This enables the bolt to be locked to the rear after expending a magazine so that a new one can be inserted and the bolt catch slammed home to re-engage your target.
Lessons Learned
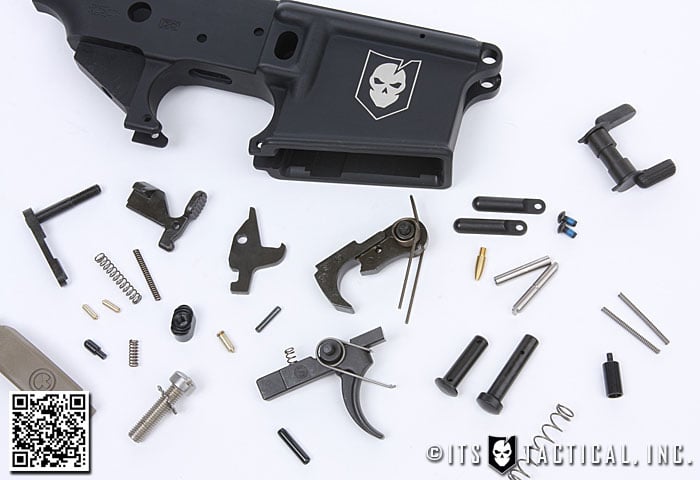
Something you really want to consider at this point and honestly before this point, is to buy quality when it comes to a Lower Parts Kit. We’ve been recommending the Stag Arms Lower Parts Kit for a good reason. They’ve been used in multiple builds here at ITS with no hiccups from parts quality or failure.
Editor-in-Chief’s Note: To add in a personal experience note here, I personally had an issue where my bolt was refusing to lock to the rear on an empty magazine. After careful and lengthy analysis of the problem, we started comparing the bolt catch to other rifles we had on hand and realized the upper lip of this particular sub-par bolt catch was shaped differently than the others. Replacing it fixed the issue of the bolt locking to the rear, as the added height of the new catch was all that was needed to get the AR back up and running correctly.
Parts Needed
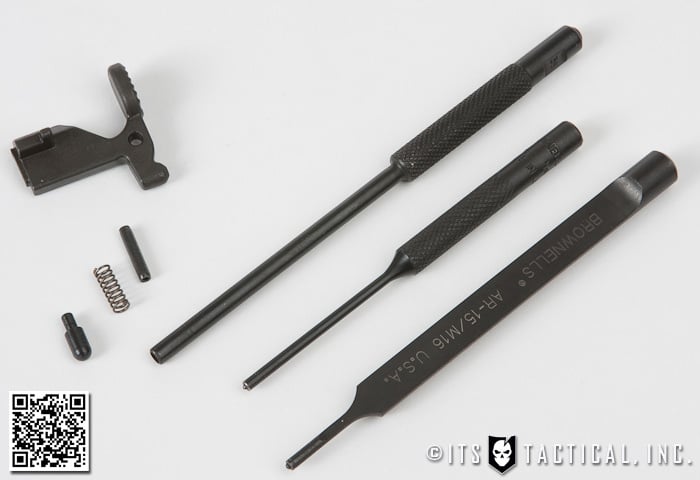
Tools Needed
- Bench Vise
- Lower Receiver Vise Block
- Ball Peen Hammer
- Brownells #3 Roll Pin Punch (or Standard Punch)
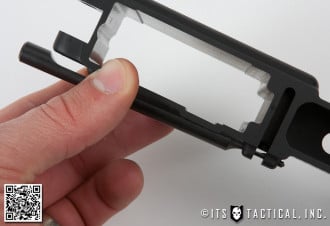
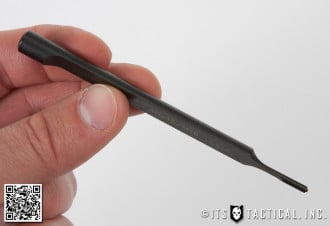
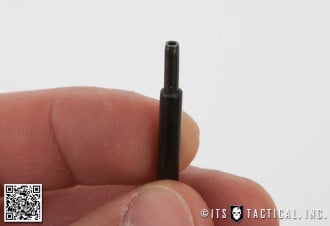
- Brownells Bolt Catch Roll Pin Punch
- Brownells #3 Roll Pin Holder
Assembly Instructions
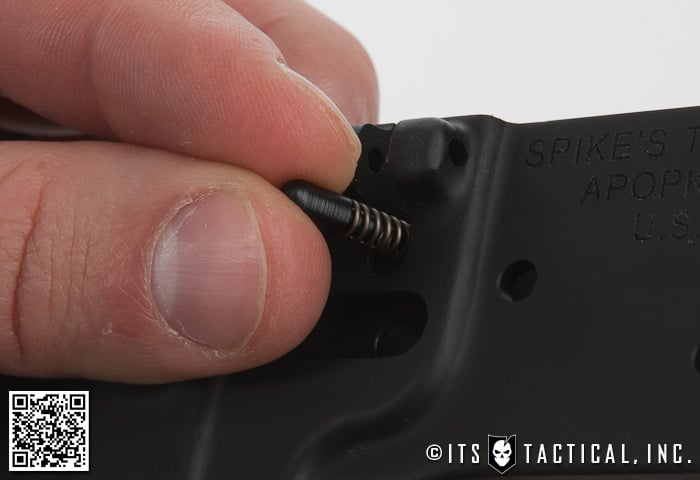
If you’re concerned about the finish on your lower, you might want to put some masking tape around the area of the Bolt Catch so that you don’t scratch the surface when driving in the Bolt Catch Roll Pin.
- Place the Lower Receiver onto the vise block that’s been secured to your vise. (not like Bryan forgets to do in the video!)
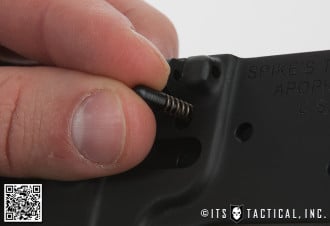
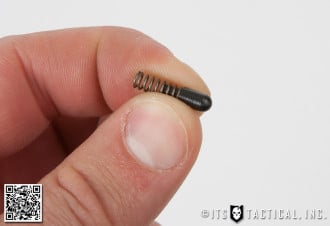
- Assemble Bolt Catch Spring and Plunger and place into the left side of the receiver just above where you installed the Magazine Catch.
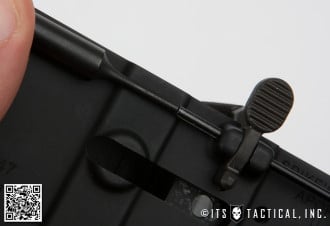
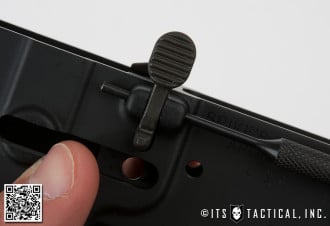
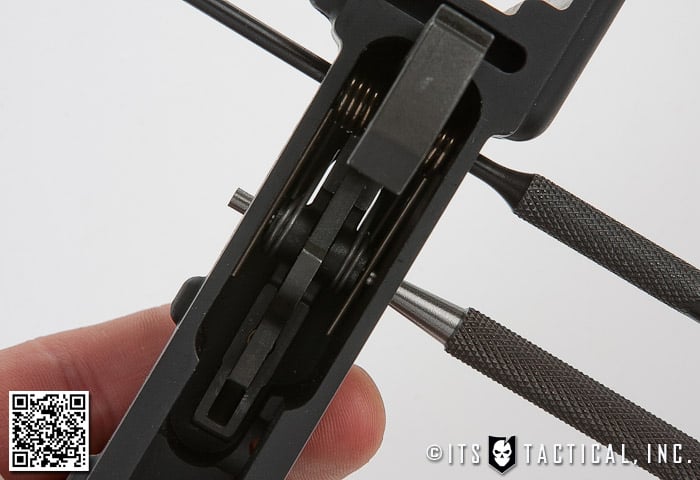
- Place the Bolt Catch between the roll pin ears and insert the #3 Roll Pin Punch from right to left through the hole in the bolt catch to hold it in place.
- The direction the Roll Pin Punch is inserted is important, as you’ll be tapping in the roll pin from the opposite direction.
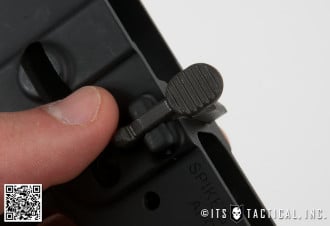
- Drive in the Bolt Catch Roll Pin using the #3 Roll Pin Holder just slightly and not all the way through the left roll pin ear.
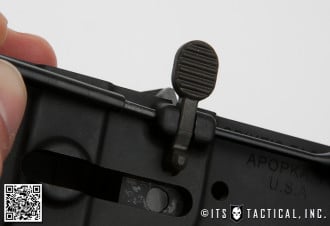
- Finish driving the Roll Pin with the Brownell’s Bolt Catch Roll Pin Punch until flush on both sides of the bolt catch roll pin ears. (This punch is nice because it contours to the lower and avoids additional marring and potential bending of the Bolt Catch Roll Pin)
- Test the Bolt Catch by pulling it slightly in the opposite direction and ensure that the spring is functioning correctly.
ITS Tactical Logo Lower Receiver
Don’t forget about our exclusive offer to our Plank Owners and Crew Leaders to get a ITS Tactical Logo Lower Receiver from Spike’s Tactical for $99! Click here for more info!
Join us back here for our 4th part in the DIY AR-15 Build where we’ll be assembling the Pivot Pin and getting into the common “flying detent” that you’ll run into.



Discussion