Haley Strategic Partners Adaptive Handgun 1 and Adaptive Carbine 1 AAR
Haley Strategic Partners Adaptive Handgun 1 and Adaptive Carbine 1 AAR
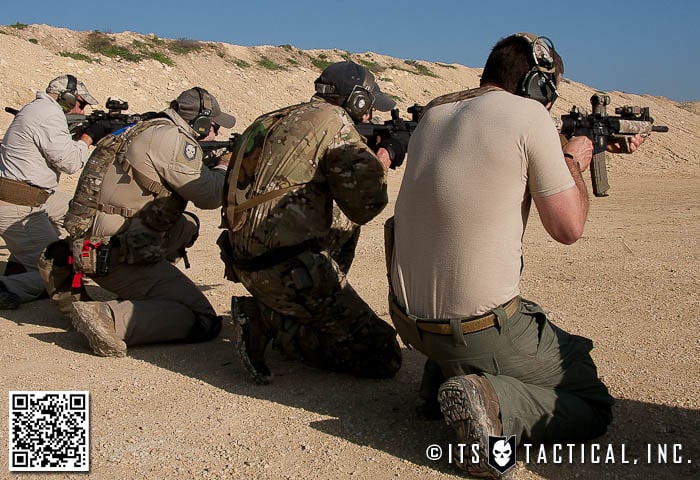
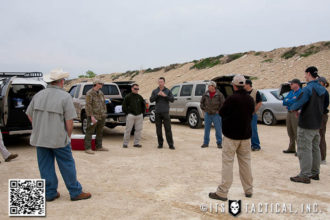
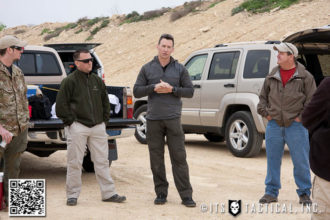
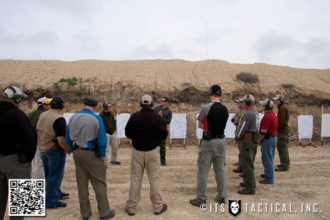
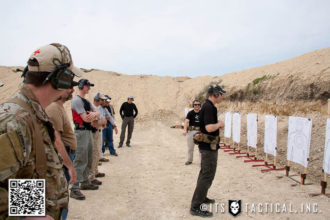
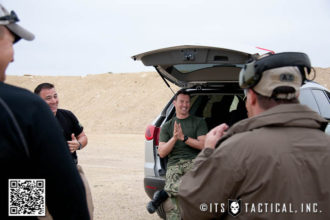
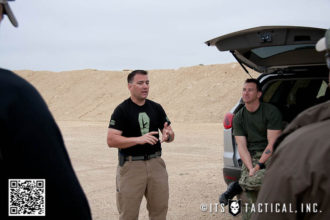
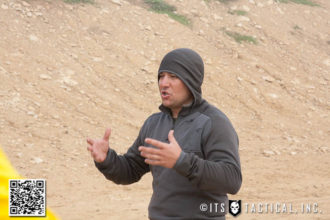
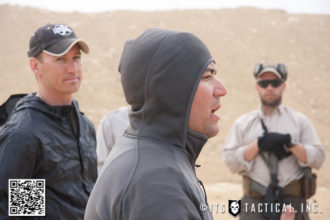
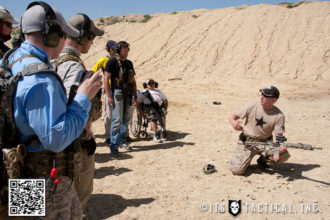
If there’s only one thing you take away from this AAR (after action report), it should be that Haley Strategic truly lives up to their mission statement of creating thinkers before shooters. The number one weapon is the mind over all others and it’s this reason why CEO Travis Haley and lead instructor Brannon LeBouef use examples from their life experiences to help reinforce mindset and allow students to learn through these socially shared experiences.
Rather than simply say “here’s what happened and what should have been done,” it’s up to the individual listening to draw their own conclusions and take on board what they personally get out of the knowledge lectures.
Not only is mindset near and dear to us here on ITS Tactical, but it’s one of the reasons I started this website back in 2009. To provide information that could one day mean the difference of someone seeing tomorrow or not. I feel like our values are very aligned with what HSP is providing to their students and why ITS has not only become industry partners with them, but why I’m grateful to call Travis and Brannon friends.
Haley Strategic Values
Before I get into the HSP POI (program of instruction) I’d like to talk a bit more about what makes HSP tick and why I feel that they provide some of the best training I’ve ever had the privilege of attending, both in the military and as a civilian.
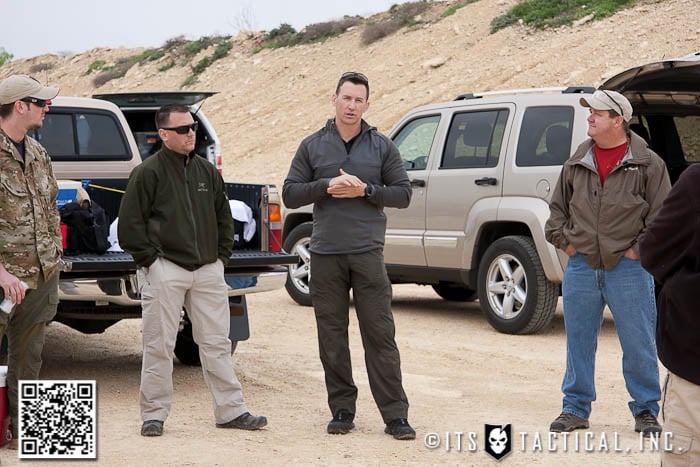
I’ve been to courses where twice the ammunition was fired per day and I didn’t get as much out of it as I did with these HSP Adaptive Handgun 1 and Adaptive Carbine 1 courses. Not to say that there was a lack of emphasis on shooting, that certainly wasn’t the case. From my experience in training with HSP during this past week and through their inaugural Disruptive Environments course last summer, I’ve come to see certain values that stand out to me as making up the character of HSP as a company.
That being said, one of these values that was continuously brought to the forefront, was to never get stuck on absolutes. There are many instructors out there that teach in absolutes and brand their POI’s, despite not being the ones who initially developed them or in some cases not being able to state the “why’s” of what they teach. Aside from that, focusing on absolutes will cause a loss of the bigger picture. The military training I’ve been involved in was guilty of this, “we do it this way because it’s the way we’ve always done it, so stop asking questions!” Travis and Brannon were not only able to answer the “why’s,” but to also take other methods and discuss if they would and wouldn’t work based on their experience.
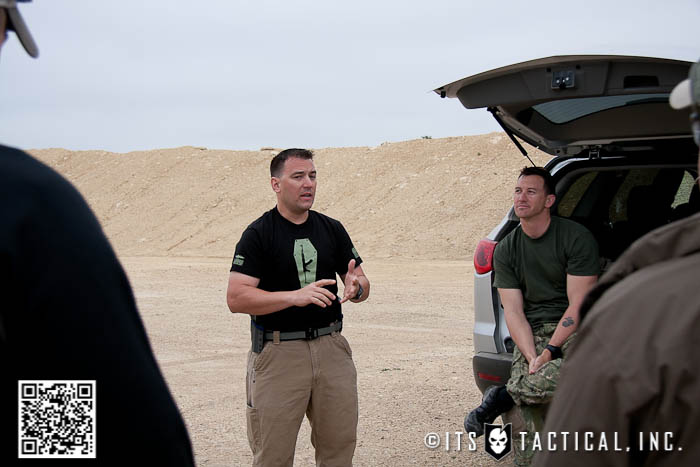
Travis used the example of doctrine in vehicle operations during the beginning of the war, which stated that when contact was made to immediately dismount vehicles and set up a defensive perimeter. Guess what the enemy wants? They want you to stay on their “X” so they can continue to destroy you. We lost many good men because of what doctrine dictated.
Never being afraid to fail and staying positive are a few of the other big values HSP continued to reinforce. Never being afraid to fail is the only way you can continue to climb the ladder of excellence. Meaning that if you were to go out and shoot a drill at 100 % each time and continue to do this over and over again, what are you learning? How are you continuing to excel? Only through getting out of your comfort zone and exposing your failure points, do you learn what you can do to climb to that next rung.
Staying positive means not walking up to your target with resentment and looking for what you can blame on your missed shots. If you think you’re no good, then you’re never going to be. Each shot is a learning opportunity that shouldn’t be wasted. Embrace these as positive experiences that can help bring out why certain issues occurred and what you can do to work on them and continue to excel.
Adaptive Handgun 1
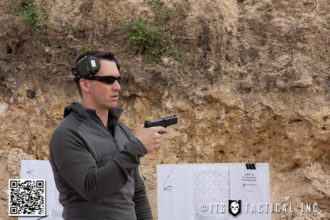
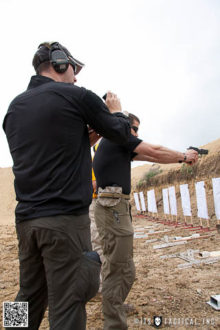
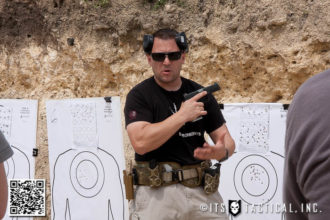
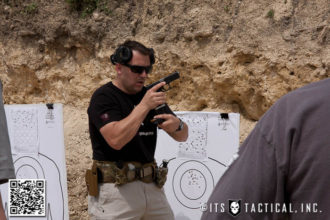
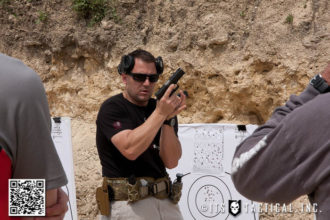
Despite attending multiple pistol classes in the past, I’ve never understood the fundamentals more than when I completed the three-day HSP Adaptive Handgun 1 course. Rather than simply state, “this is how you stand,” HSP explained the why. Why the path of least resistance is important and what previous doctrine taught us and the evolution of the fundamentals. For instance why blading towards the threat (weaver stance) was previously accepted and what body mechanics has taught us now.
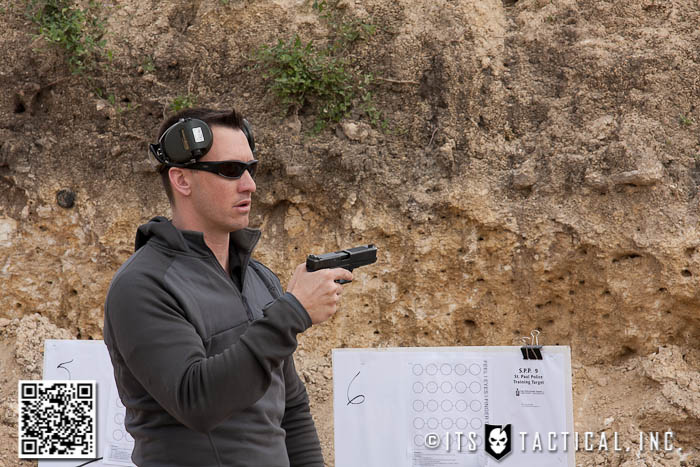
HSP groups the common seven fundamentals into three easy to remember words to help reinforce them. Stance and grip become FEEL, sight alignment and sight picture become EYES and trigger, breathing control and follow-through become FINGER. The seven fundamentals are nothing new to shooting, but focusing on these in a group of three is not only easier to remember, but strips the fundamentals down to the bare bones.
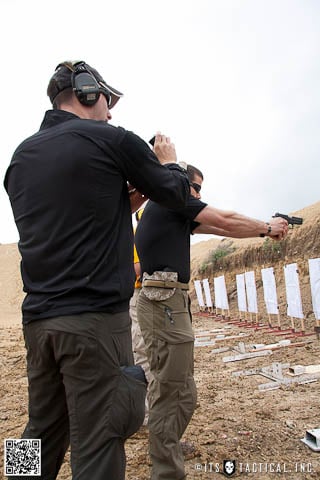
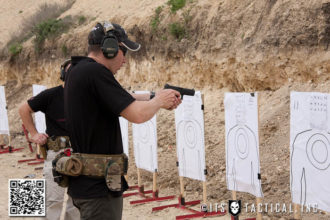
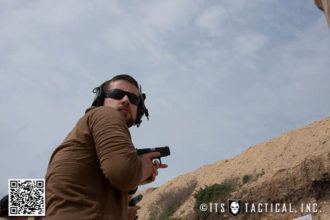
Previously I’d been taught in the military to bend my knees and bend at the waist using a modified isosceles stance, which through the course of the handgun course of instruction I found to relate back to doctrine and not body mechanics as it should be. After the first few hours I learned how to adjust my knees to a slight bend, not bend at the waist, to lean out putting my belly button over my toes and place the weight on the balls of my feet.
I felt more controlled and it was apparent in my increased accuracy. Bending too much at the knees decreases stability and bending too much at the waist turns you into a pendulum. What this all comes down to is being able to react quicker and not get locked into a position, thereby staying adaptive enough to move off the line of attack.
Speaking of which, the purpose of moving off the line of attack is that you’re never going to be quicker than the draw of your opponent, but if you can move off the line of attack and force them to re-engage, you just may level the playing field as you draw.
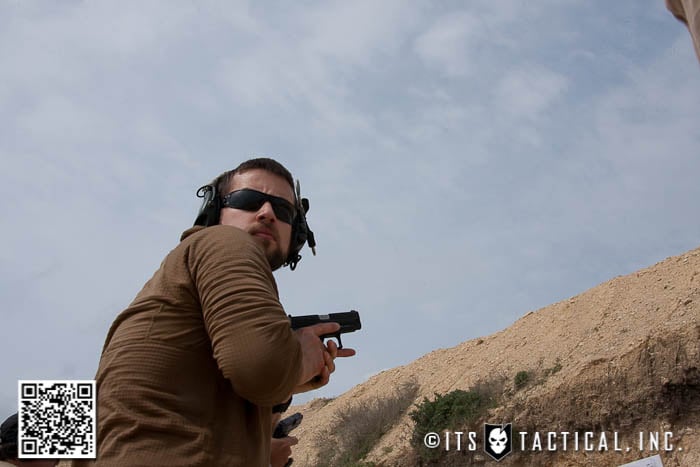
Some take homes I was really able to notice that affected my shooting were the stance, hand position and focusing on prepping the shot by taking up the slack in the trigger. My hand position was a very simple fix that I’d never had explained to me the way Travis did. I’d always overlapped my thumbs, but what I wasn’t doing was placing the third knuckle back of my support side thumb into the pocket created by the second knuckle of my strong side hand. I was placing the second support side knuckle within the second strong side knuckle.
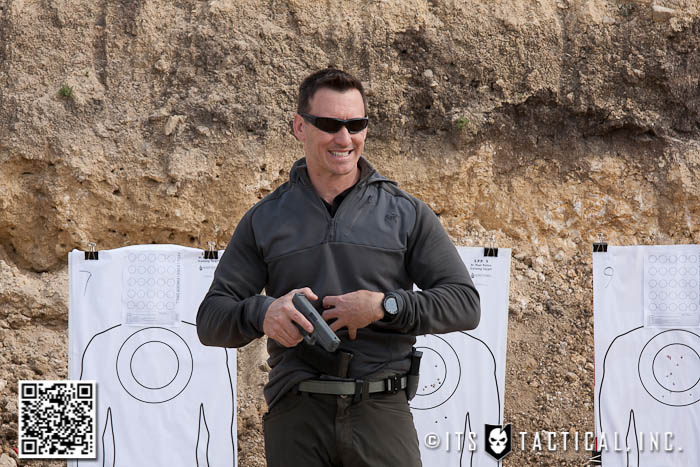
Another couple of tweaks were tightening my core up all the way and relaxing it to about 15%. Also, fully extending my arms until it was uncomfortable and then backing off slightly and rolling my shoulders inboard slightly. One last subtle fix described by HSP was moving the strong side foot slightly offset (back) of the weak side foot. If I remember correctly, this was to “fix” the tendency of the strong side hand leading too much and driving the shots towards the support hand side of their intended target.
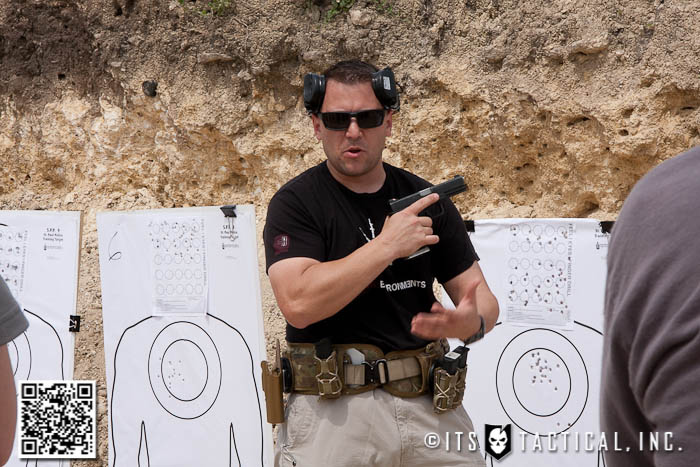
It was great to truly learn how to analyze my missed shots and immediately realize where my body position and hands were at, where my focus was and what my finger was doing. Feel, Eyes, Finger.
Handgun is a different animal than carbine and it’s amazing how small adjustments can make huge improvements in accuracy and follow-up shots. I’ve also realized how much I continue to loathe the double/single action of the Sig Sauer. I’ve been a big Sig guy ever since I learned how to shoot , but as I continue to develop my skill-set I continue to be put off by the inconsistency of the Sig’s double vs. single action. I’ve trained to work around it and appreciate the added safety it affords, but I’m starting to question whether the safety of other guns is acceptable enough to make the switch to a consistent trigger pull. That’s me thinking out loud though.
Drills
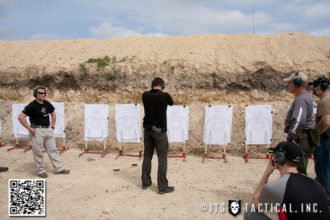
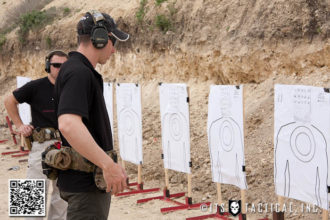
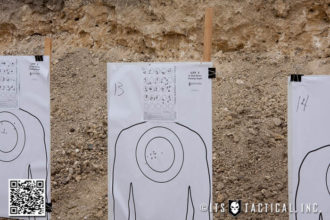
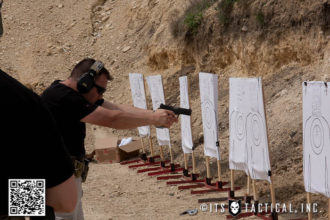
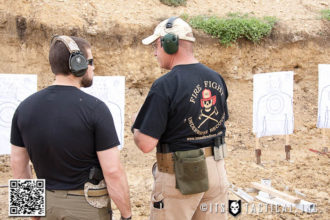
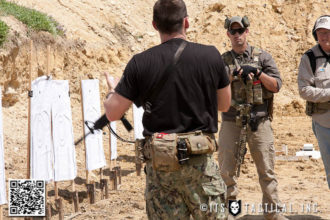
We went through a multitude of drills with the handgun, including the Feel, Eyes, Finger drill, which was a simple 8.5″ x 11″ piece of paper consisting of five rows of five 1″ dots. The objective was to focus on different fundamentals on each line while putting one to three shots in each circle from the 3 yard line. It’s much harder than it looks and really bring out what fundamentals are off during your shots.
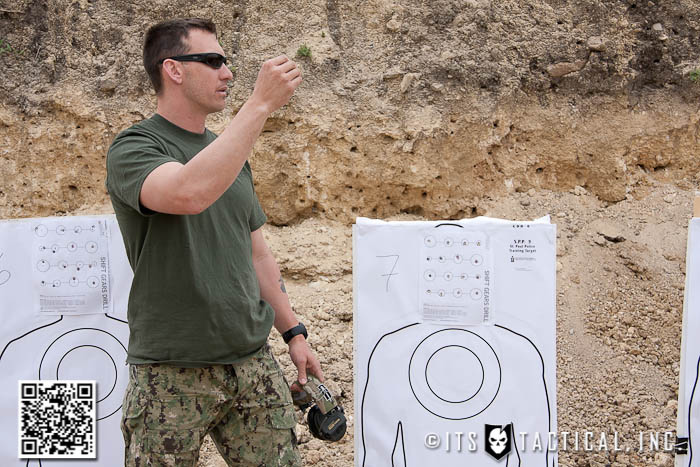
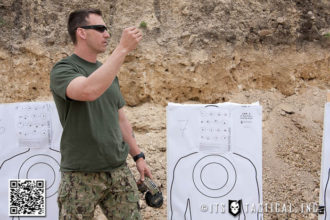
There was also the Shift Gears Drill, which Travis illustrates on the HSP Blog. Essentially you move in ascending order through the circles as they get smaller to bigger and vice versa. It was really interesting to me after shooting the FEF drill and moving on to this, how much more accurate my shots were moving with the timer and a compressed time frame. You’re taking a total of 16 shots, one in each circle. Something I’ve always heard but never 100% understood until this drill is the adage of “aim small, miss small.” I found that when being told to focus on knocking out the numbers rather than the circle itself, it helped improve my accuracy.
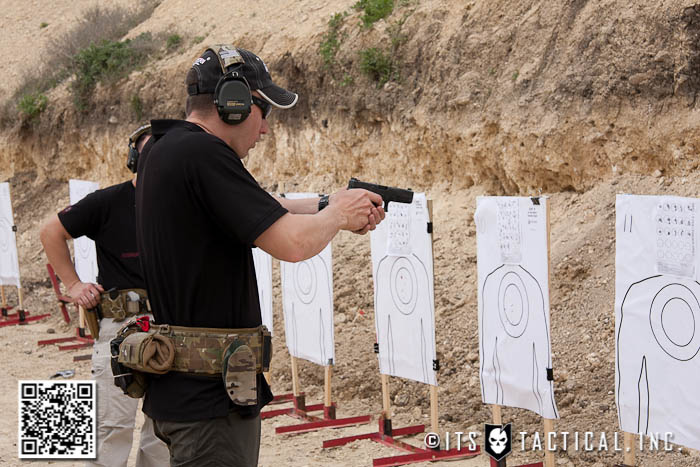
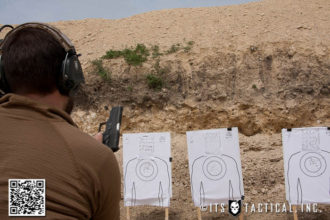
Another drill was the Combat Effective Test, where we shot various amounts of rounds into 8″ dots at distances from 3 to 50 yards. It really hammered home hold-overs, height over bore and brought out our failure points.
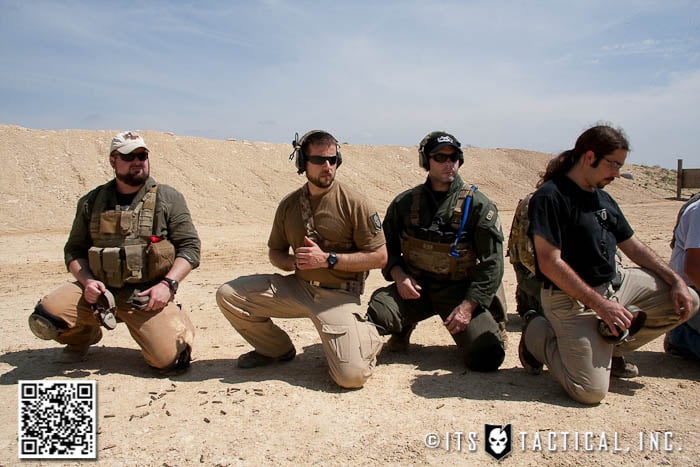
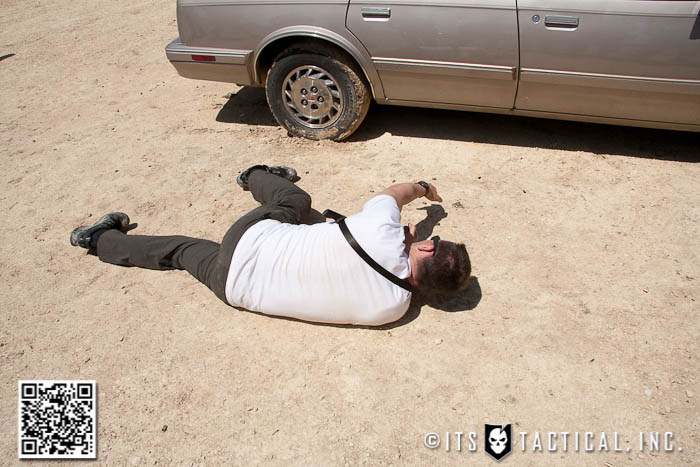
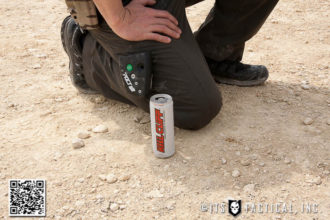
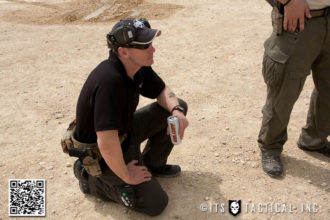
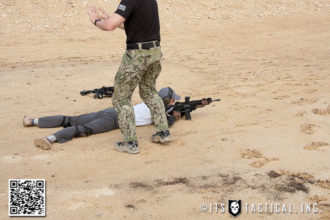
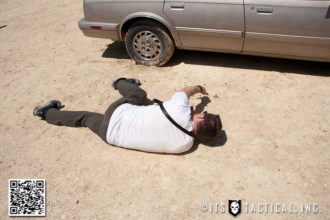
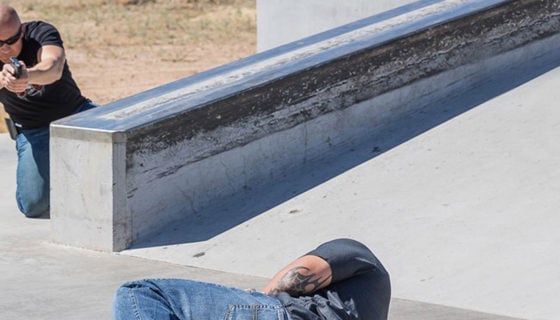
Travis also had some very interesting approaches to get into a kneeling position that enabled quick movement, again going back to the principles of stance and not getting locked into something that doesn’t enable to you quickly move off the line of attack. We also worked on shooting from our backs in the situation where you might fall or find yourself on your back like the recent incident of Trayvon Martin and George Zimmerman. We had a lengthy and very good discussion about that in class. Remember, never bring Skittles to a gunfight!
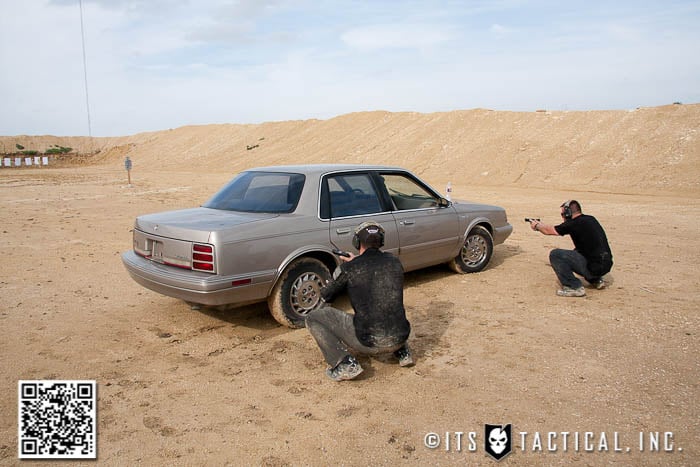
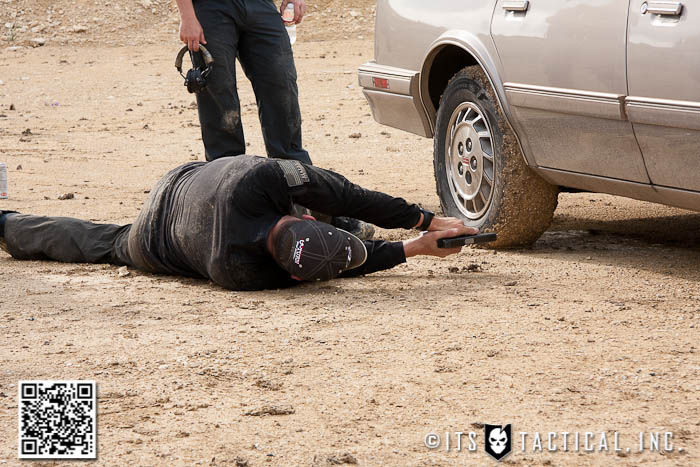
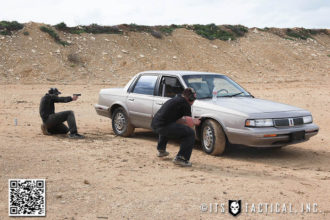
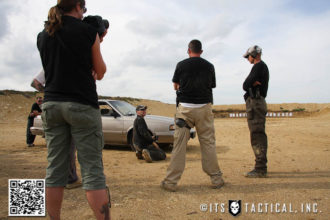
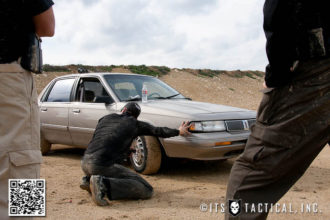
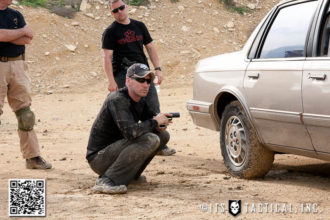
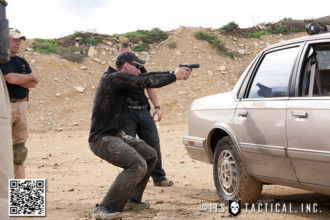
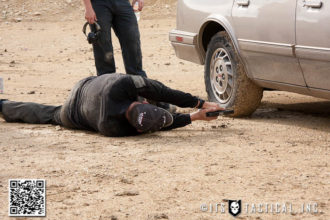
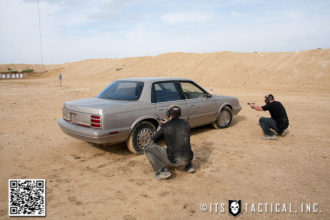
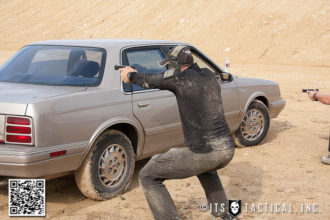
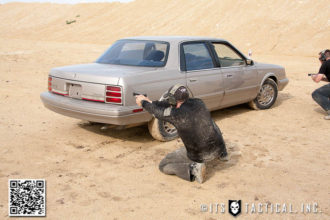
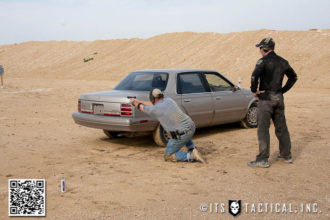
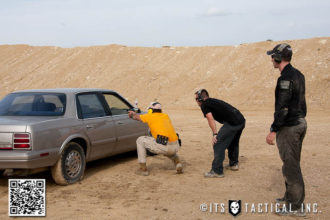
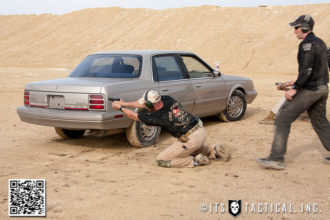
Shooting around, through and under a car were some of my favorite drills, which again brought out issues of their own and great opportunities to learn from our mistakes. Shooting under a car adds to the pucker factor when you’re trying to stay as small as possible behind a wheel. Travis had some great tips for achieving this while still being able to stay fluid enough to move quickly when the situation calls for it.
Handgun Loadout
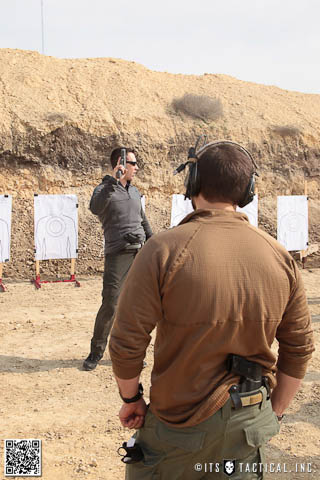
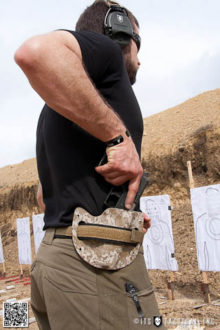
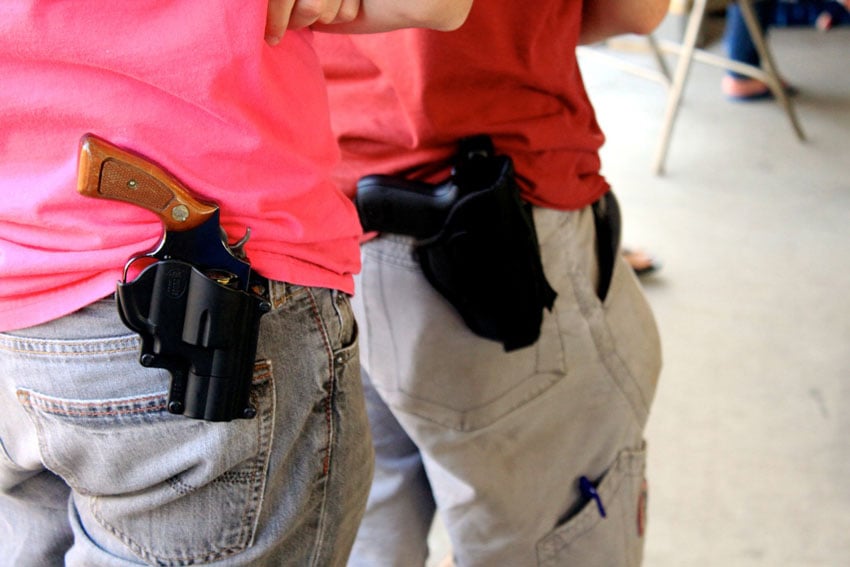
There’s nothing like a multiple-day course to try different configurations and gear options. I focused on concealed carry for the entire three day pistol course, as that’s how I carry my Sig Sauer P225/P6 every day. I’ve actually moved further and further away from drop leg holsters and even holsters that can’t be easily concealed. Train as you fight. A note on my Sig is that the stippling I recently did on the grips really helped me control the gun better and it’s something I’m going to do on each one of my sigs now and probably every handgun I purchase in the future.
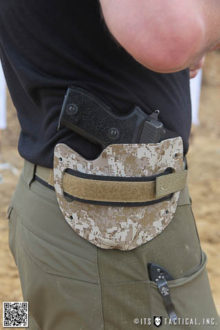
For the first half of the course I ran a Raven Concealment Phantom Modular Holster IWB (in the waistband) with Soft Loops and the second half I ran an Orion Concepts MOD-1 that I’ve just started evaluating and really like so far. The Raven Concealment holster is what I’ve been wearing for the last year or so on the small of my back at the 5 o’clock position, but I have to weave my belt through the loops rather than unsnapping them to remove the holster. I’ve had the RCS for a few years now and I’m not sure if I have defunct soft loops, but they don’t unsnap easily at all. For me, I feel that the 5 o’clock position I carry in prints the least with this holster and the kind of clothing I typically wear.
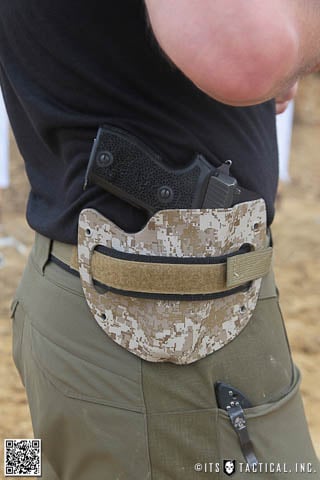
Both Travis and Brannon made some good points about why they carry at the 3 o’clock position, which included getting to your gun easier if you’re on your back or just being faster on the draw in most situations. There’s also the school of thought that if you fall, you might screw up your back falling on your gun. I completely see the benefits to carrying at 3 o’clock, but I still feel that a gun isn’t as easily concealed in that position. I did try the 3 o’clock position out for the 2nd half of the handgun course and found it was certainly quicker to draw and that the MOD-1 felt more comfortable in this position. Trying to wear it at the 5 o’clock seemed to not contour correctly to my body. I do still feel that for me, the 5 o’clock is easier to conceal IWB with pants or shorts and a t-shirt like I typically wear in Texas. We only have the opportunity to wear jackets here for around four months out of the year.
I was also evaluating a prototype single mag carrier that Orion Concepts made for me before the course. It’s based on their “belt over” design of the MOD-1 where the belt is looped over the holster, bringing it closer to the body and negating the reason to carry IWB. The single mag carrier ran like a champ, allowing for quick reloads. Placing a magazine back in the carrier was a little more difficult, but just like a handgun, it’s not a race back to the holster. I didn’t find this on the mag carrier, but on the MOD-1, you may find that a belt loop is skipped where you wear the holster. This is due to the “belt over” design and I thought it might be an issue on the draw with the holster not being as stable, but after repeated draws I didn’t find this to be an issue at all.
Speaking of belts, I ran the Jones Tactical Cobra 1.5″ EveryDay Belt and it performed flawlessly! I do run into some sizing issues when I’m running certain holsters and mag holders though, as it lengthens the slack and causes the scuba webbing to separate near the buckle. This is due to running a “belt over” design like the Orion Concepts MOD-1. Just keep that in mind when you’re ordering a specific belt size and know what you could potentially be running on your belt. Nailing down sizing is tough for me, as I’m always reviewing different items.
We shot just shy of 1,000 rounds of handgun for the three-day course and my six single-stack eight-round magazines weren’t doing me any favors. I had to keep a pocket full of rounds on me and reload twice as much as everyone else. My thumb certainly got a workout though.
Adaptive Carbine 1
The majority of the morning on the first day of Carbine was spent going over the different characteristics of zeros at the 25, 50, 100 and 200. Travis stressed that your zero is everything and to find a zero that you’re not only comfortable with, but that also holds combat effective hits at multiple distances. He went over hold overs with each zero at multiple distances out to 500 yards and it was easy to finally understand why the 50 yd. zero is desirable. The short of it is that a 50 yd. zero gives you a 9″ combat effective zone out to 300 yds.
As you move back in distance from 50 to 100 you’ve got a 1″ climb up, but at 200 it drops back down to almost center again (maybe slightly lower, but not much). At 300 you’re point of impact is about 7-8″ lower and at 400 and 500 you’re hitting the groin and the ankles, respectively. That means you’ll have to hold the face at 400 to hit the chest, but the groin is still a good combat effective hit. Inside of the 50 you’ll hold high of center by about 1″ at 25 yards and 2″ at 3 yards due to height over bore, or the distance between the bore and your sights/optic which is typically 2 – 2.5 inches.
The real take home with a zero is to find something you’re comfortable with that’s effortless under stress. You may be smart and know your holdovers for a particular zero, but how will stress impact that? Travis mentioned all this info on zeros is on his Panteao Productions Adaptive Carbine DVD and I’d highly recommend you check it out if you can.
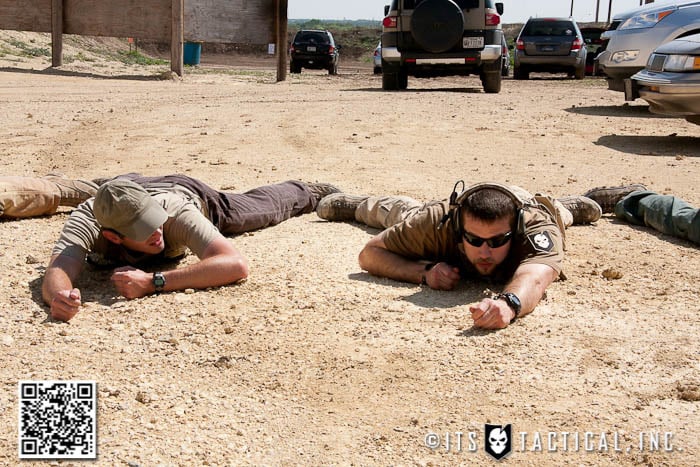
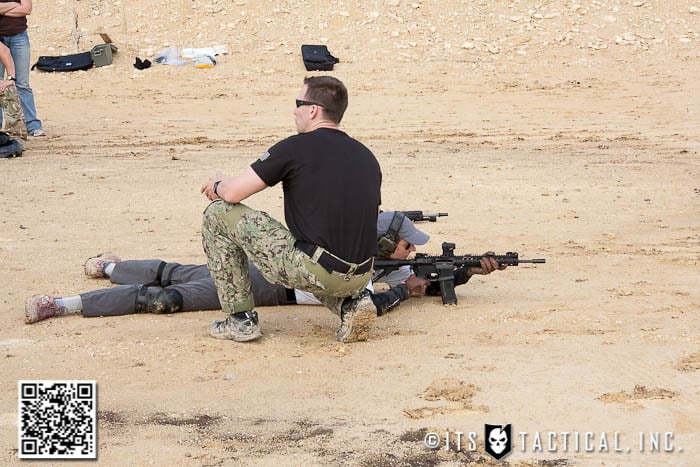
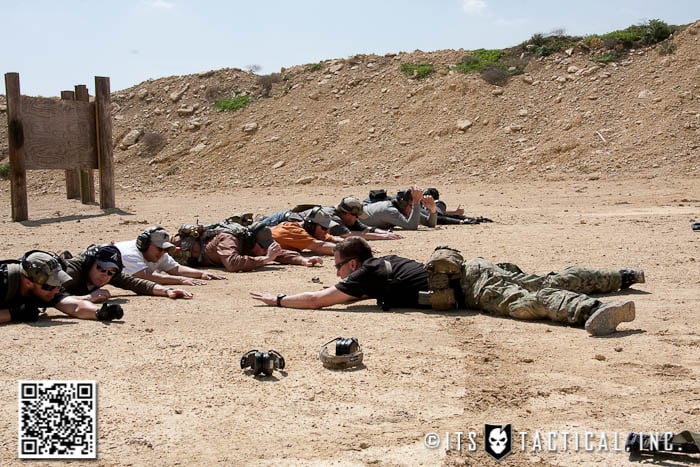
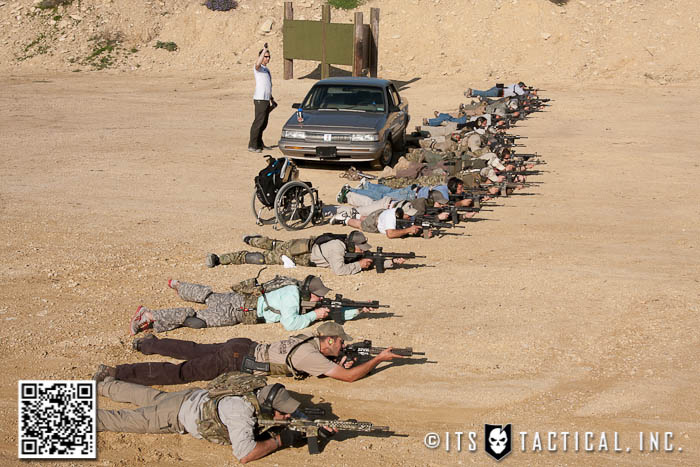
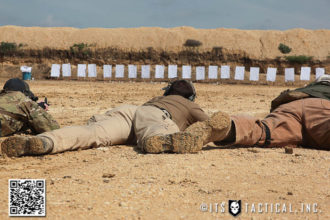
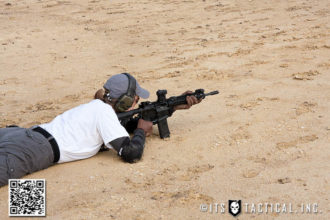
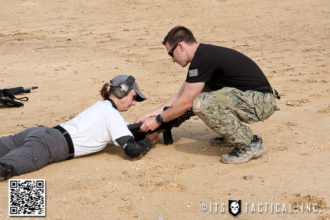
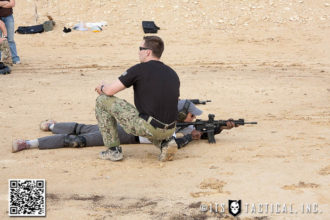
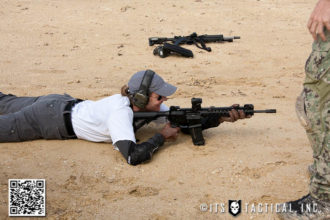
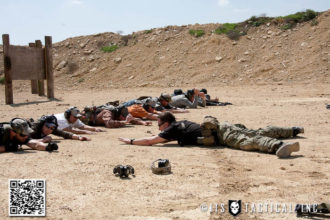
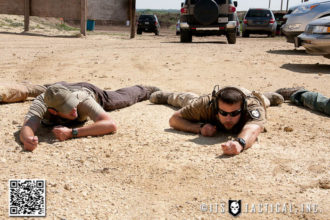
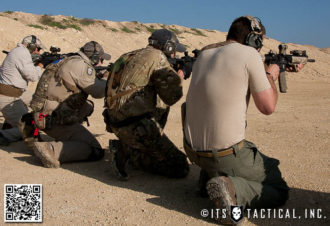
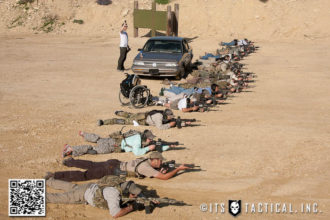
During the zero process we learned a lot about prone body position and why it’s so important to align the spine with the gun, giving you a rigid recoil abutment. A few other tricks were to dig in your feet while minimizing their height, digging in the strong side elbow and extending the stock while almost being on top of it with the shoulder. Also, keeping your red dot barely visible and not covering the point of aim with a bright dot.
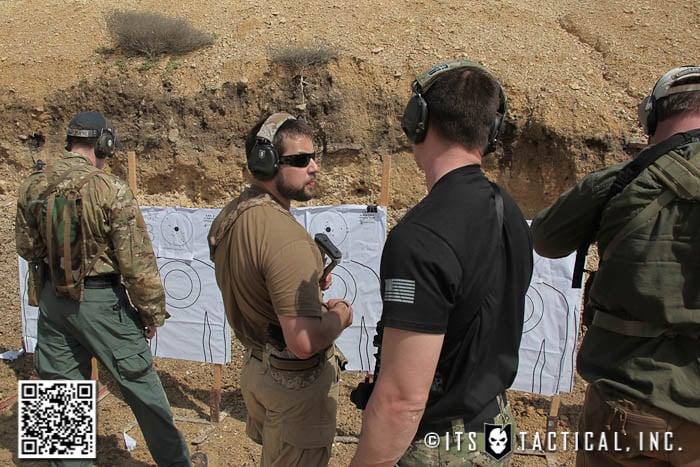
Much like the handgun, carbine body placement is nearly the same. Analyzing body mechanics and the path of least resistance will tell you why having your support side elbow under the gun isn’t a good thing and will cause the carbine to jump up during recoil. By rolling the elbow up and placing the thumb on top, you’ll control that upwards movement and send the recoil back through the stock and shoulder where it should be.
Drills
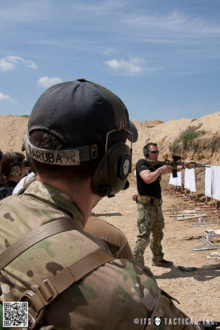
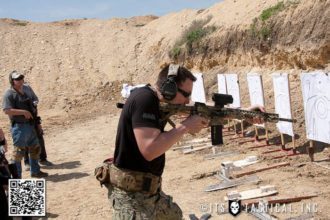
I took the same body position and fundamentals I used during handgun, applied them to the carbine and truly felt myself being able to better control my shot placement; even as the speed and distance increased. During the same CET (Combat Effective Test) we took with handgun, I was amazed at the grouping I still had out at 100 yards. It was such an improvement to what I thought my capabilities were and how I’d placed shots at that distance in the past. As Travis said, the bullets never lie.
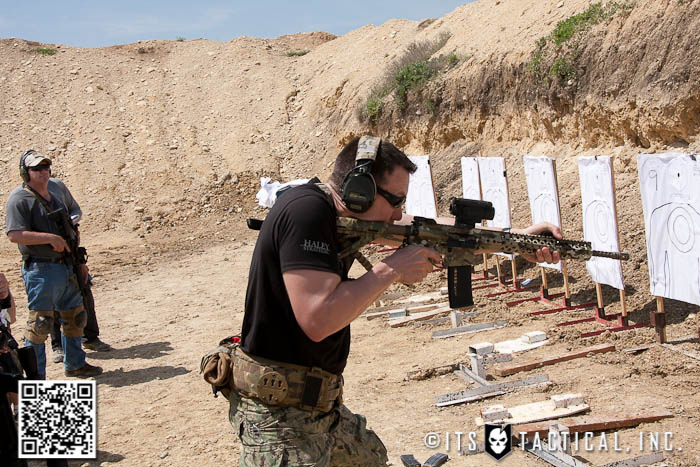
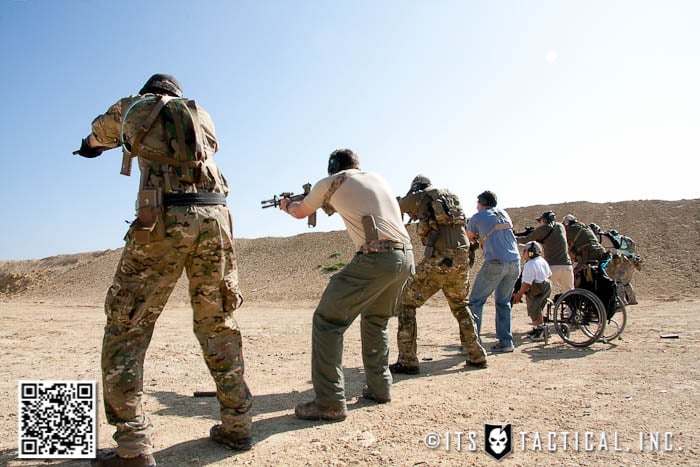
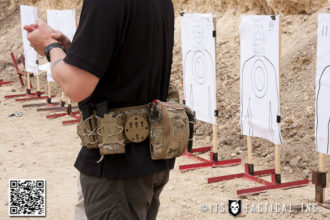
We went over many different skills with the carbine, such as admin and speed reloads, where I truly saw the benefit to keeping a spare mag on my hip. I was running a JMC Custom Holsters Single Magazine Holder that worked perfectly for that application. Other drills we ran were much like the handgun drills where were were engaging an 8″ circle out at multiple distances, kneeling, or on our backs shooting. HSP really hammered the point of always being cognizant of staying mobile, despite what position you find yourself in. Another drill I really loved, that you’ll see me running in the video below, is the Kyle Lamb / Viking Tactics 1-5 Drill. This was around a 3.5 second run with hits all in the inner 8″ circle.
Here’s Travis running the same drill from our class with 300 black out from a BCM 14.5 with a Noveske Barrel. Quite a bit faster.
Each morning we re-confirmed our zero before going into the day’s drills and I really appreciated the opportunity to do this and further ingrain proper form while zeroing. It’s always seemed to me that other courses I’ve been to have never accurately explained the zero or rushed past it.
A few of the last drills we worked on in the class were shooting from behind cover both standing and kneeling from strong side and support side. This was the first class I’d been to where I switched shoulders and shot from my support side. I’ve done this many times on my own working on the range, but it was great to have HSP’s instruction to fine tune some of the important considerations when shooting like this. One tip that helped me was to close my strong side eye briefly to acquire the target quicker through my red dot sight.
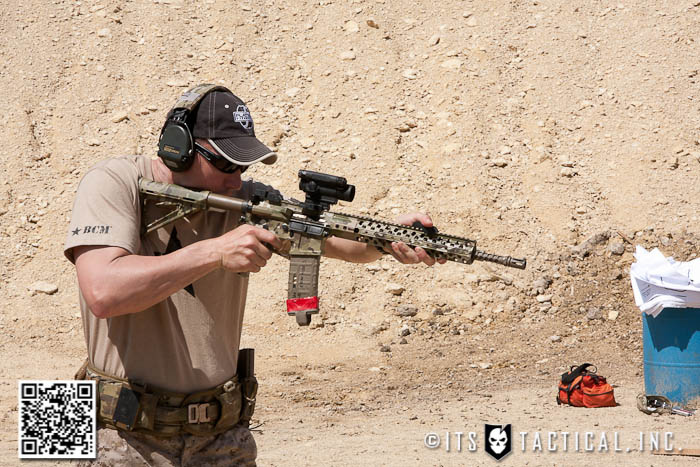
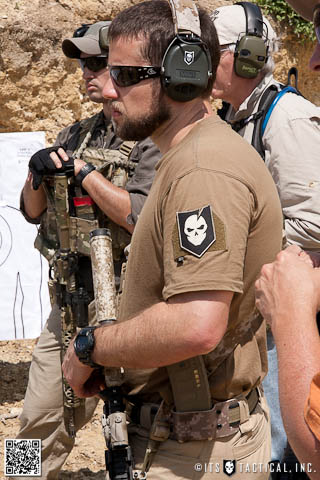
HSP also taught what Ill refer to as a minimal footprint, which means that rather than stepping out from behind cover to take a shot, or placing a knee outside of cover, simply shifting body weight will allow you to lean out from cover to take a shot. A great tip for kneeling and doing this was to actually kick out the opposite leg for better stability while leaning out to the knee side.
Carbine Loadout
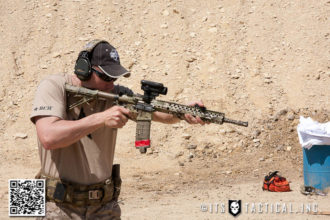
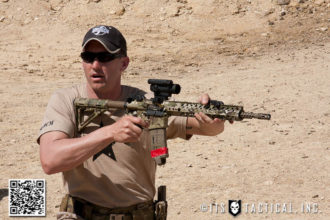
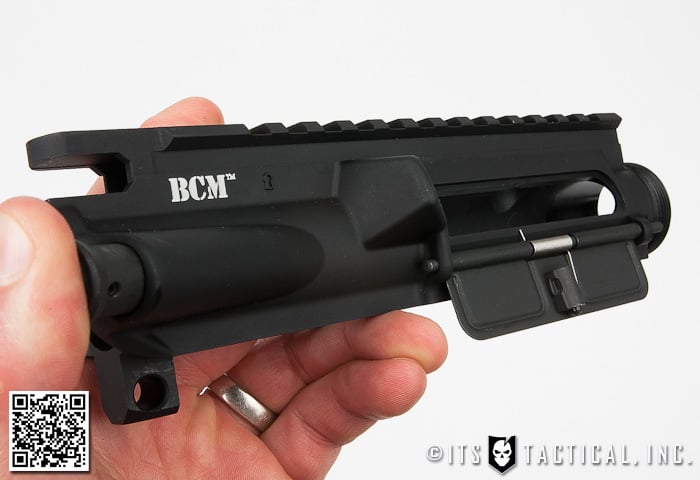
For the Carbine course I used our recent DIY AR-15 Build build which is built around a Bravo Company mid-length upper, 14.5″ barrel and a permanently attached BattleComp 1.5″ compensator. The lower is an ITS logo engraved Spikes Tactical with a Stag Arms lower parts kit. The furniture is all Magpul with a Daniel Defense 9″ Lite Rail. Optics consisted of an Aimpoint T-1 on a LaRue LT-660 mount. As I’m getting into learning more about Night Vision, I ran a Laser Devices DBAL-I2 on the rail to tweak the position relative to my hand placement. My Surefire Scout light was attached with an Impact Weapons Components / Haley Strategic Thorntail Adaptive Light Mount which I can’t say enough good things about, look for a full review of the Adaptive Light Mounts coming soon to ITS.
The AR build functioned flawlessly for the 1200+ rounds fired through it during the three-day course. Other than the purposely set up malfunctions for practice drills there wasn’t a single true malfunction. One thing I continue to be amazed with is the performance from the BattleComp and how accurate my follow up shots are. I attribute this not only to a good build with quality parts, but to the muzzle control properties of the BattleComp.
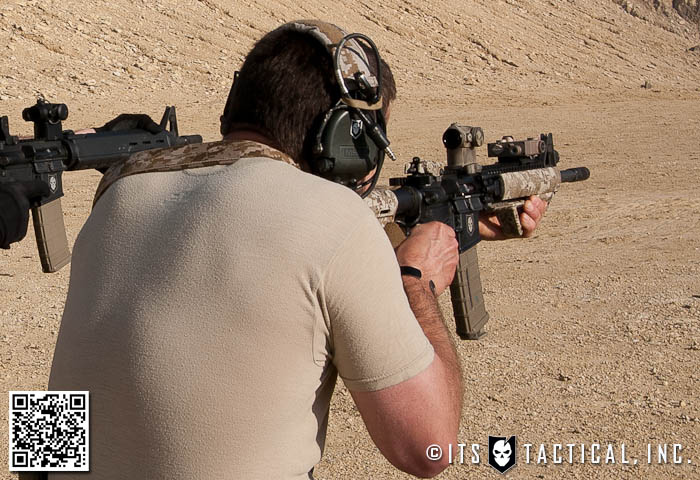
I didn’t wear a chest rig for the carbine portion of the week, but had it near me to grab mags from. As mentioned, I wore a single PMAG carrier on my hip to facilitate admin and speed reloads. Also the sling I ran was a Blue Force Gear Padded VCAS Sling with the custom modification I did here to turn it into a two-point to single-point convertible sling.
Closing
Repetitions are something HSP ingrained into all of us and to treat them with the respect they deserve. That means that each time you pick up your handgun in the morning before you holster it, or each time you take your rifle out to the range, make those repetitions count. Load it as you would in a gunfight, take the time to get a sight picture before holstering, etc. Cherish repetitions and don’t waste them by putting a magazine outside of your workspace. Bring the gun up, load the magazine and point the gun downrange or in a safe direction and get that sight picture.
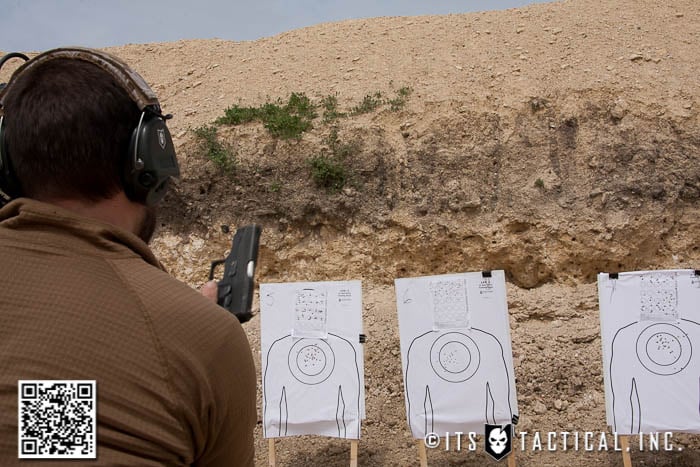
I for one took a ton of information away from this course of instruction and really liked handgun followed by carbine, it helped to see how the applications and fundamentals taught by HSP applied across the platforms. I’m looking forward to getting back out on the range now and continuing to apply this training. I can’t wait to correct some of the positioning and fundamentals I’ve used in the past and shown my wife and son the new things I’ve learned. I’ll never look at missed shots the same way again and always focus on them being opportunities to learn from.
Something you’ll get from an HSP course is not only the shooting instruction, but the “why” and the mindset behind what you’re training for. Being ready for anything that might come is a way of life and something you have to continue to develop and work on each and every day, whether it’s on the range or in your head. The greatest weapon is your mind.
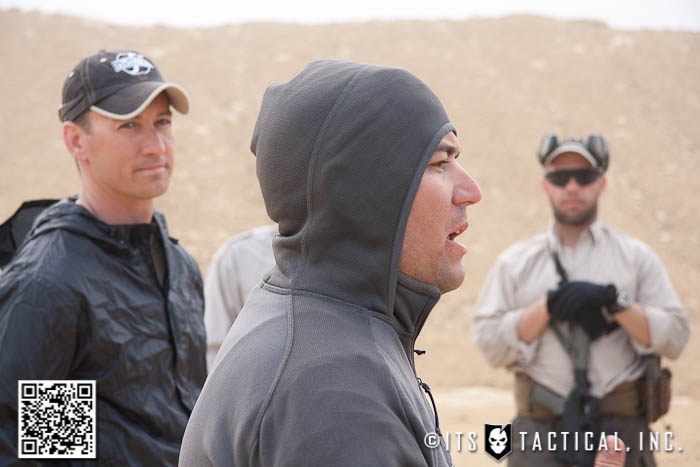
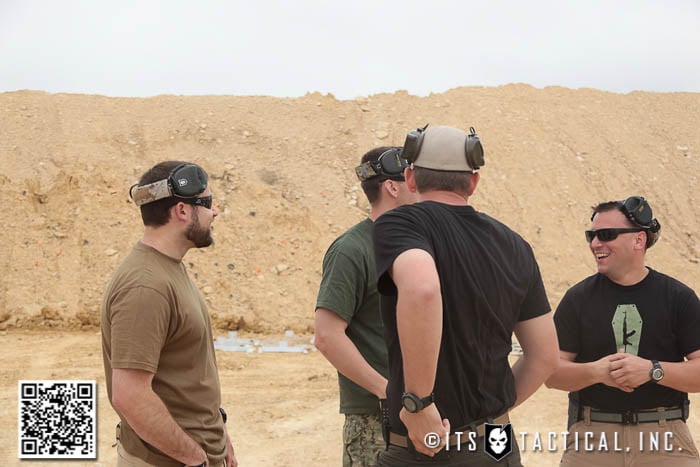
A huge thank you Travis and Brannon of Haley Strategic for such a phenomenal learning opportunity and their professionalism. Not only was the course fun, safe and educational, I know everyone left with much more knowledge and confidence in these firearms than they came with. I’d also like to thank the Best of the West Range in Liberty Hill, TX for their hospitality and providing a great training facility.
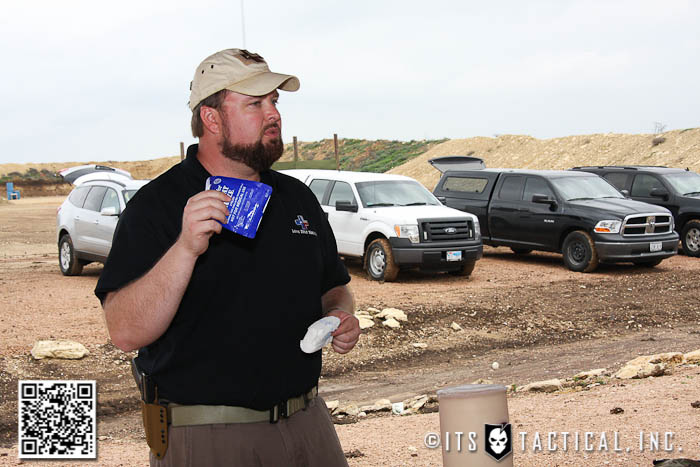
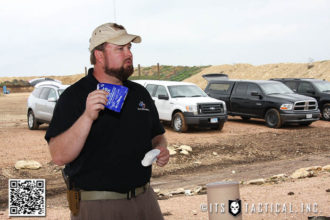
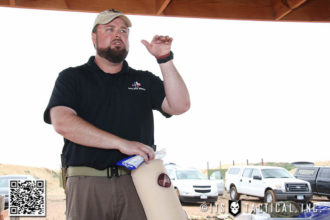
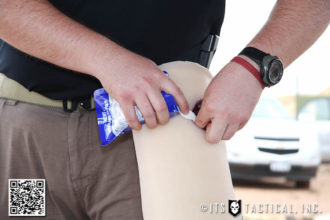
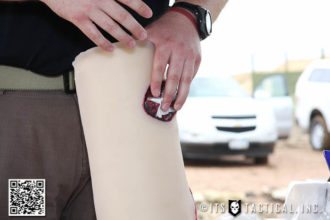
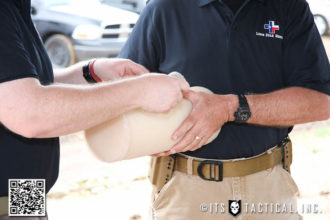
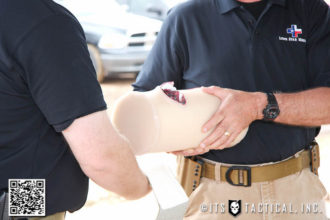
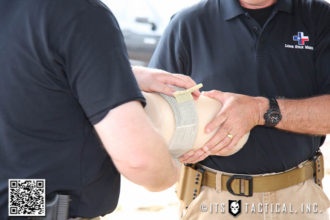
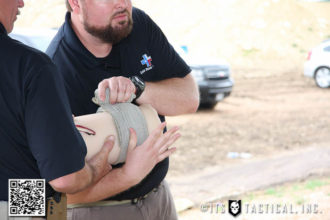
Thank you as well to my good friend Caleb of Lone Star Medics who provided medical training why we all stuffed our faces with good Texas BBQ at lunch. If you haven’t seen my AAR of the LSM Medicine X class, check it out and don’t hesitate to get out for medical training at LSM! We appreciate Z-Medica and Combat Medical Systems for providing Training Combat Gauze so we could all learn the right way to pack a wound. I also appreciate AR-15 Targets allowing us to borrow steel targets, if you’ve never had the opportunity to incorporate shooting steel into your training, I’d highly recommend it!
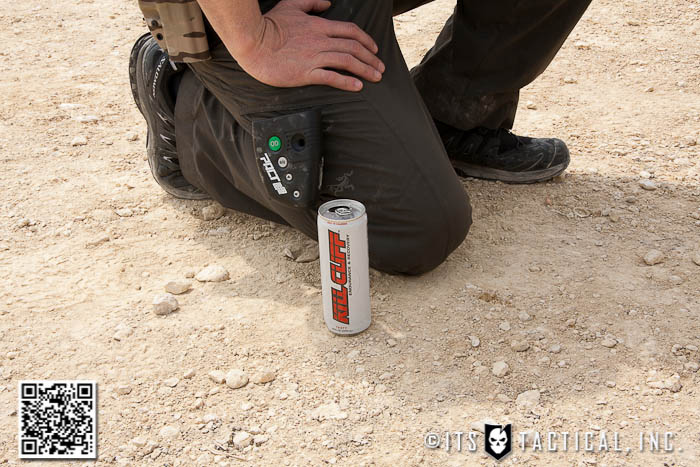
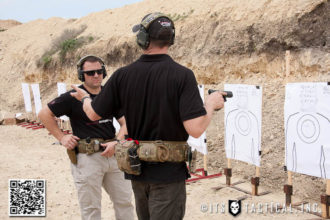
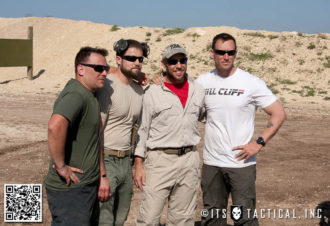
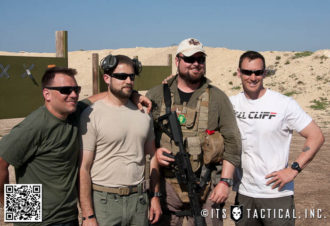
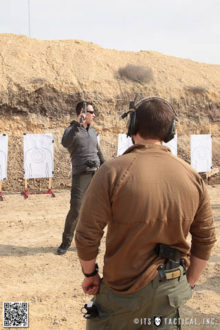
I’d also like to thank the guys from Legion Firearms for coming out to shoot with us, I had the opportunity to fire their LF-15d and I was amazed at how light it was, yet still controllable and accurate. Definitely give them a look if you haven’t seen what they have to offer yet, they’re a great group of guys based out of Austin, TX that we had the chance to meet at SHOT Show. A thank you also goes out to Amanda for taking a ton of great photos during the courses! If you want to take a look at the photos she took, check them out here on her Website. A few of them are here in this article and I appreciate her sharing them with me. While it lasted, I’d also like to thank Kill Cliff for providing drinks to keep us moving.
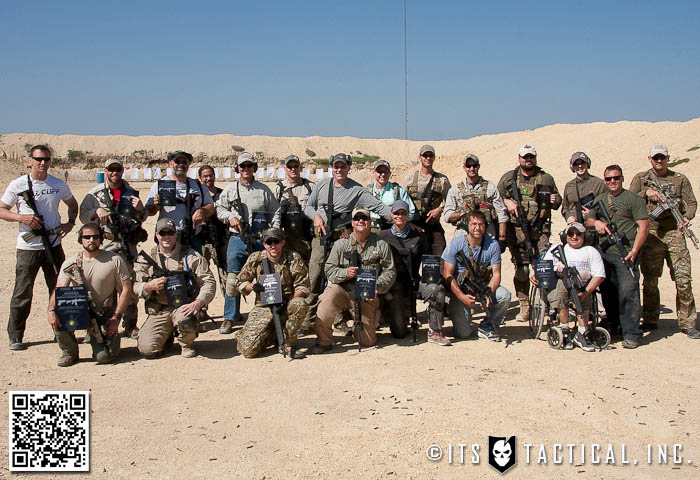
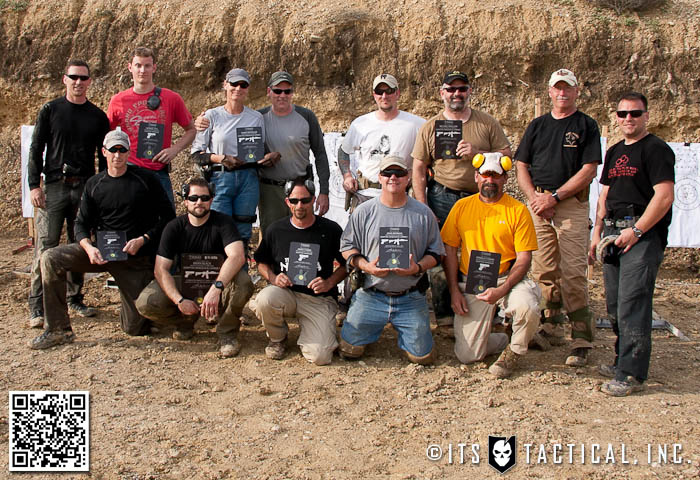
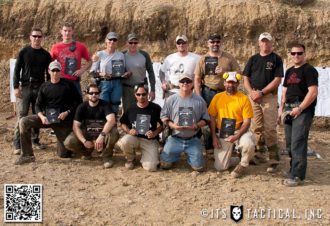
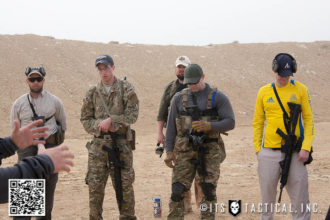
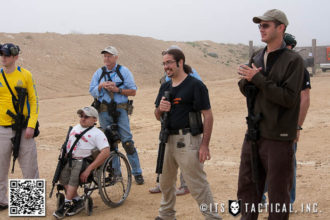
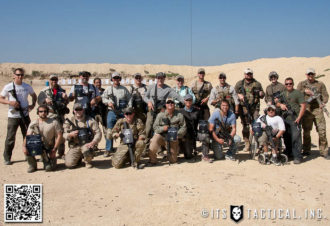
Last but not least, thank you to everyone who came out to these classes, as Travis mentioned, you’re the 1% of shooters who care enough to spend your hard earned money on training and refining your skill-set instead of a nice vacation. I hope you all still felt like it was a vacation, with how much fun we all had. It was great to meet each one of you and a pleasure to train with you!




Discussion