Send It: How to Make a 1,000 Yard Precision Rifle Shot
Send It: How to Make a 1,000 Yard Precision Rifle Shot
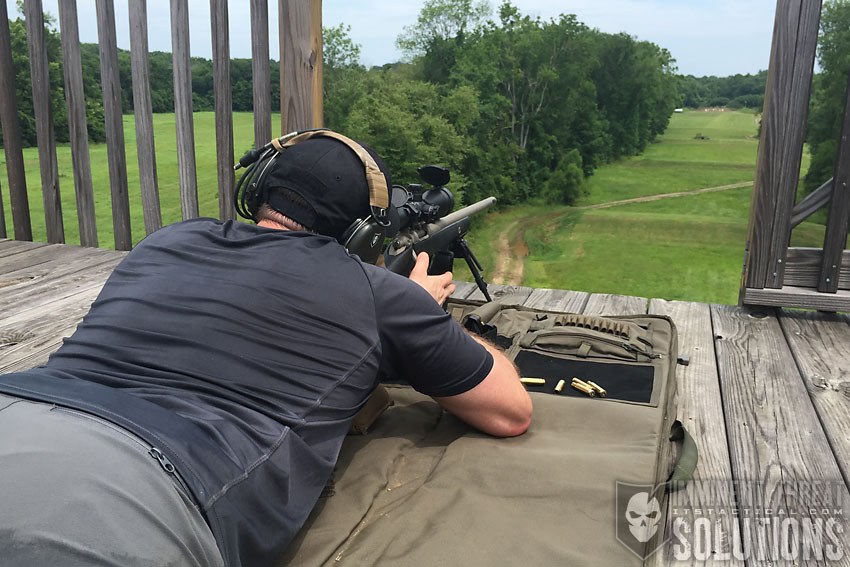
Would you think that by shooting a bullet 30 feet into the air, you could have it land on a target 1,000 yards away? If you said yes, you’re absolutely right. Today I’ll be sharing my recent experience of doing just that and what it takes to make a hit on a target from this distance.
Precision shooting is all about having the skills and knowledge to make your long distance shots go where you want them to. Learning how to make the shot takes patience, time and of course, a firearm capable of making it all happen. Let’s get into the specifics.
The Way of the Gun
I’ve been very interested in precision shooting for some time now and recently had the opportunity to learn from one of our ITS contributors, Jason Crist. While Jason will be the first to tell you that he’s not an instructor, he was willing to show me what he’s learned in the years he’s spent shooting at distance and give me a proper introduction. I’d like to pay it forward and sum up what I’ve picked up in hopes that the information will give you what you need to get started.
Even if you’re more experienced than I am, I hope that this article will be a good refresher, or provide the platform for you to share your knowledge about certain areas in the comments below.
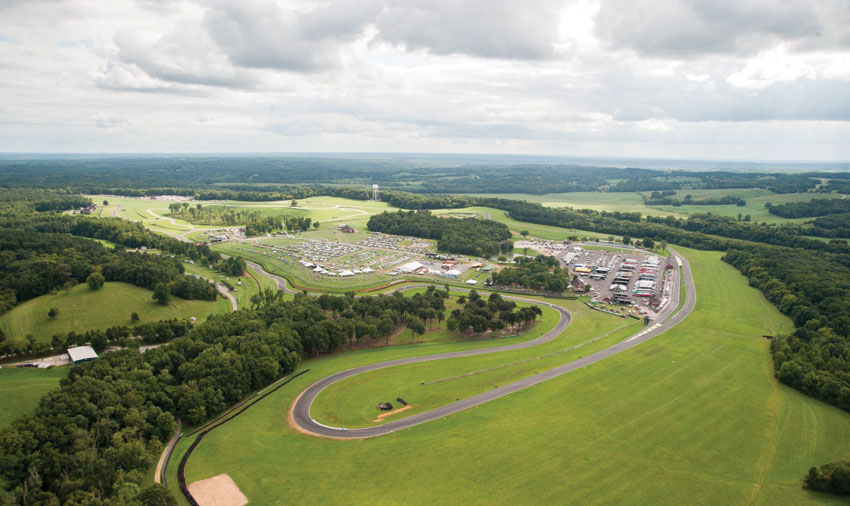
We were fortunate to have a phenomenal facility to use at the Virginia International Raceway. VIR has a little know gem, which is a shooting facility and training complex that includes 7 shooting ranges with distances from 50 yards, out to 1,000 yards. There’s also a shoot house, urban sim village and more.
The rifle I was shooting that belonged to Jason was a solid platform. While I’ll go into the features of the rifle I used, there were also others there with us that didn’t have as much invested into their firearm and were still able to achieve a 1,000 yard shot. It’s not all about the gun, but it certainly helps to have quality components. As you’ll see further along in this article, the fundamentals are still primary and ever so important with precision shooting.
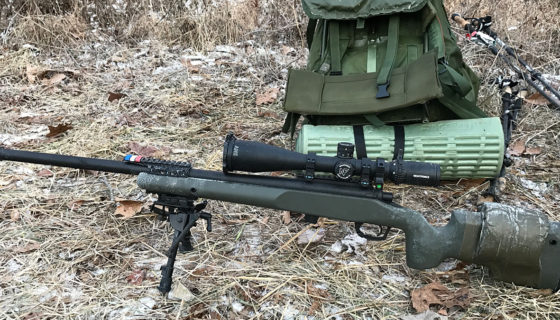
Remington 40x in .308 Built by Accurate Ordnance
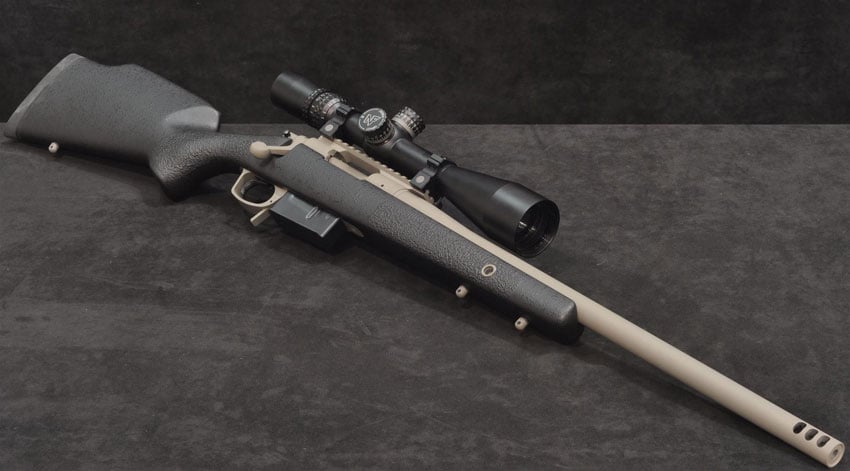
Jason recently received his gun back from Accurate Ordnance, who did an amazing job on his build. I can’t say enough about the Jewell trigger, the break on it was amazing! This rifle is truly a work of art.
- Manufacturer: Remington
- Model: 40x
- Blue Print: Fully Trued
- Lug: Trued Factory: .187”
- Trigger: Jewell
- Scope Base: Badger 20 MOA
- Barrel: Bartlein 20” 1:11 Twist, .308 Winchester, Varmint Countor
- Muzzle Device: Badger Thruster
- Stock: Precision Stock Works Rifleman
- Bottom Metal: Badger M5
- Coating: Cerakote Icon Grey
- Optic: Leupold Mark 4 LR (Model #67965)
I don’t want to spend too much time talking about the gun, but we’ll touch on it again when we talk about the scope in the MOA vs. MIL discussion below.
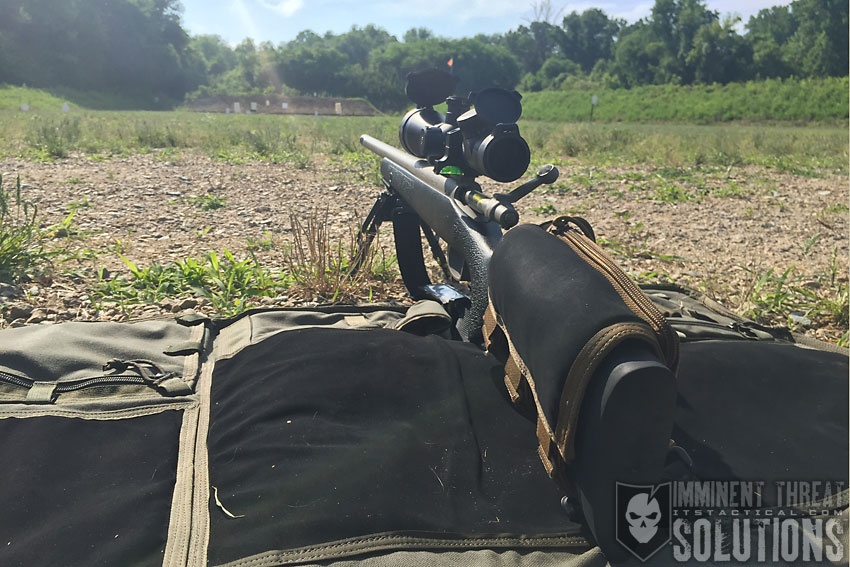
Fundamentals are Key
With each of the areas I’m highlighting, none will benefit you if you don’t have the right fundamentals, which I’ll be discussing first. The best thing I did, at Jason’s recommendation, was to watch two videos that Rifles Only put out. The first, Precision Rifle Volume 1: Fundamentals, features Rifles Only Chief Instructor, Jacob Bynum, running through the fundamentals used to accurately drive a precision rifle.
I picked up all kinds of information on everything from how you lie down into the gun, to grip/hand position, trigger pull, supporting hand position, breathing, etc. It’s an amazing video and as great as the information was that I gleaned from Jason, I think making the 1,000 yard shot happen was largely influenced by the info I picked up from this fundamental video. If you do nothing else, purchase this video and practice everything in it at home with your own rifle. Just like dry fire with a pistol, there’s so much you can do at home without ever needing to fire a round.
The second video from Rifles Only, Precision Rifle Volume 2: Field Positions for Precision Rifle was eye opening as well and included amazing information on the positional shooting that’s required for a wide variety of field conditions. You’re not always going to be able to go prone to take a shot and learning about positions is equally important as learning the fundamentals. They go hand in hand.
I can’t stress the fundamentals more. Even if you already feel comfortable with fundamentals, what’s required with precision shooting felt to me like a whole different set to learn, even though they’re using the same core fundamentals of marksmanship (sight alignment, sight picture, trigger control, follow through.)
Scope Mounting
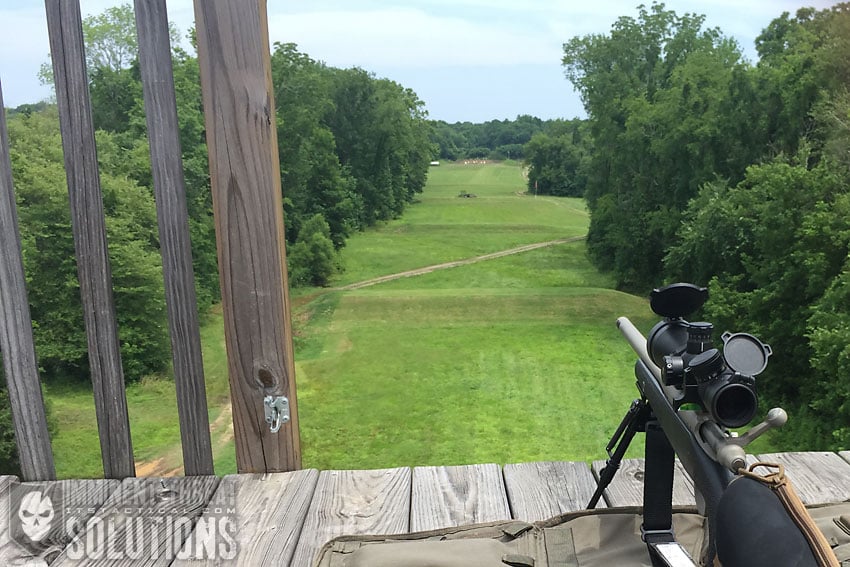
A critical area when it comes to precision shooting is mounting your scope. The first thing to do is to start with a good cheek weld on your rifle and determine where your scope will sit to provide proper eye relief. Ensuring a stable, level rifle and in turn a level scope base is necessary to properly mount your scope. I watched as Jason went through this process with not only his rifle, but with another guy’s rifle that was shooting with us as well. It’s a time consuming process, but very important in the overall scheme of things. If your scope isn’t locked down or comes loose while you’re getting DOPE (see below,) it could require you to go back and zero your rifle again.
The tools we used for this included a Wheeler Scope Leveling Tool and Wheeler Gunsmithing Torque Wrench, both of which were integral to ensuring both that the gun and scope were level, as well as that proper torque was applied to the scope rings after mounting. Additionally, going over your rifle with proper torque on every bolt is critical to ensuring success.
Zeroing
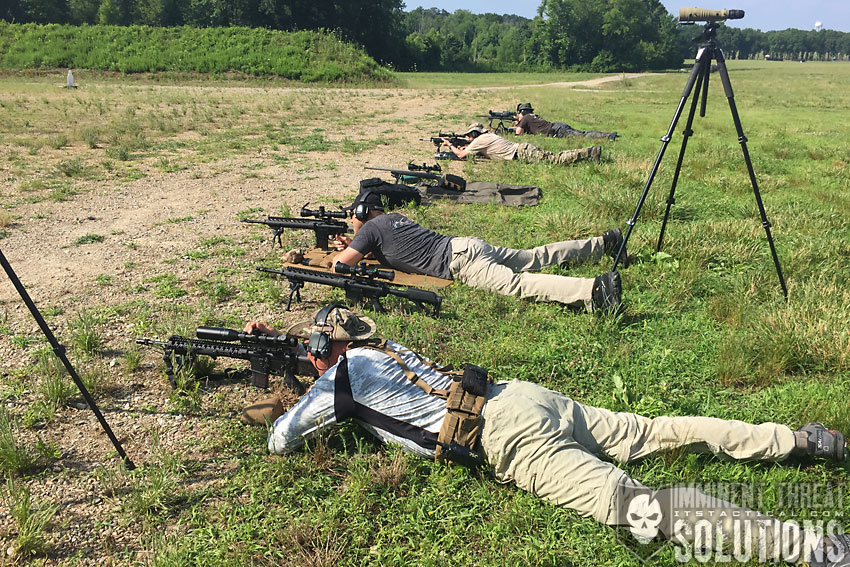
Just like with an AR or another rifle, zeroing is important. It’s what gives you the platform that all your other data is based on. Without a proper zero and confirmation that what you’re seeing in your scope is what’s happening on your target down range, your shot will fall apart when backing up in distance. We zeroed at 100 yards before backing up to 200, 300, etc. to confirm and get DOPE.
D.O.P.E.
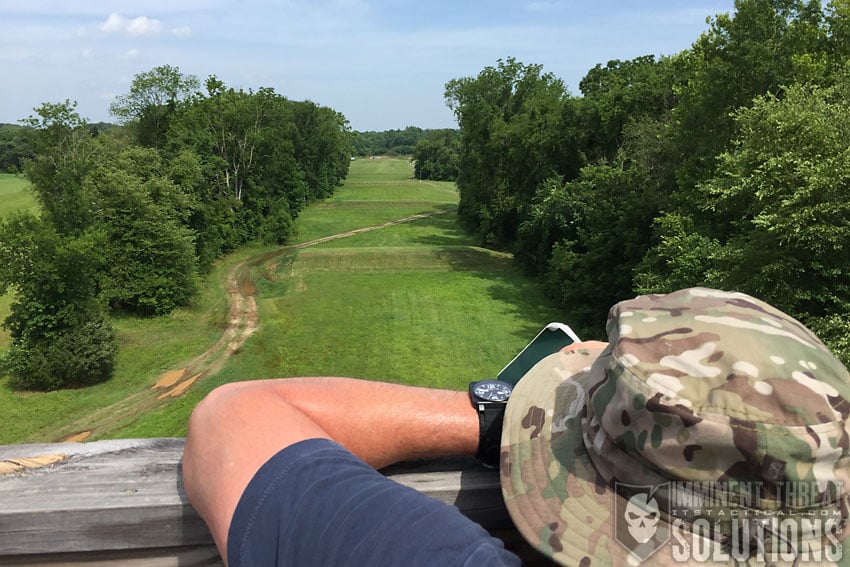
Shooting and logging shots from multiple distances and conditions to confirm that the bullet is behaving like you want it to, is what’s referred to as DOPE, or data on previous engagements. The idea is to log what your rifle is doing in every condition you can. The data aggregation in a DOPE book is never finished and includes everything from the type of bullet used, to environmental conditions. There’s plenty of apps out there that were designed to input these variables and calculate the adjustment needed to your scope based on your distance and holds for wind. It’s always a good idea to “trust but verify” with these apps.
I was using the Knight’s Armament Bullet Flight App and found it to be a bit off from what I was experiencing in the conditions I was in. This isn’t to say the app didn’t function correctly, this is just to say I noticed some differences based on my conditions. The DOPE I obtained while working back to 1,000 yards included a scope adjustment calculation for each distance we shot from. This was 100, 200, 300, 400, 500, 600, 800 and 1,000 yards. Proper range estimation is also an essential part of gathering DOPE and without it, your DOPE is worthless.
Meaning that if you have DOPE obtained in a certain distance and that distance wound up to not be accurate you could be looking a huge miss. To put this into perspective, 1 MIL is 3.6” at 100 yards and 36” at 1,000 yards. You’d be looking at a huge miss if you’re off by a MIL. To put that into MOA numbers, 1 MOA is 1.047 at 100 yards and 10.47” at 1,000 yards.
Before we go any further, I’d like to try to explain MOAs and MILs.
MOA and MIL
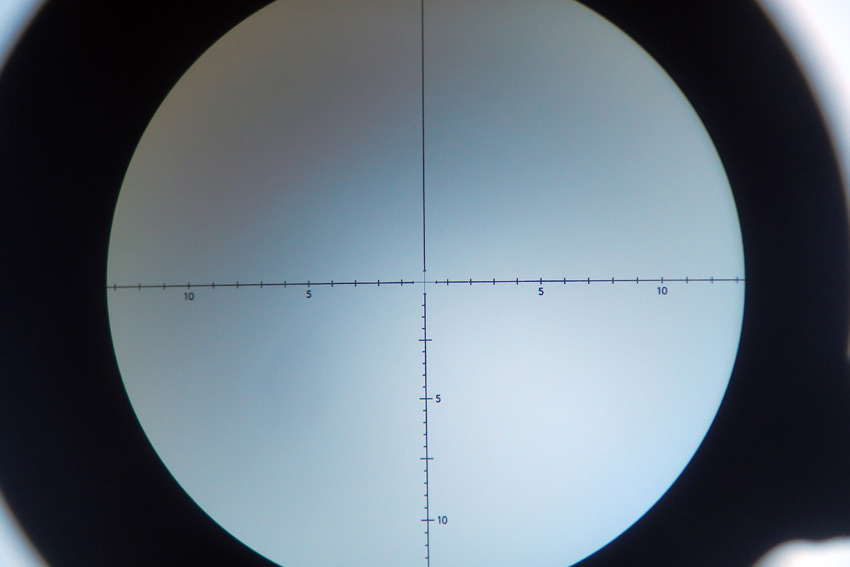
The best explanation of MOA and MIL that I’ve come across was mentioned in a recent article on the US Optics Shooting Academy from contributor Matt Sharp and is provided here to try and clarify the comparison.
MOA, or “Minute Of Angle,” is an angular unit of measure describing a standard portion of a degree. There are 60 Minutes of Angle per degree and 360 degrees in a circle. This makes for 21,600 minutes of angle per circle. With a circle of 100 yards, one true Minute of Angle (tMOA) equals 1.047 inches. For simplicity, this is usually rounded down to 1” at 100 yards, 2” at 200 yards, 4” at 400 yards and so forth.
There are several types of scopes capable of a variety of adjustments of Minute of Angle, from 1 MOA adjustments down to 1/8 MOA adjustments. The most common type of MOA adjustment for most tactical/precision shooting is ¼ MOA, meaning each click of adjustment is equal to .25” at 100 yards. There are also a few other measurement types, IPHY (Inches Per Hundred Yards) and SMOA (Shooter Minutes of Angle).
Then there are MILs, or Milliradians, which are a unit of measurement dividing radians in a circle. A radian is equal to 57.3 degrees, with 6.283 radians in a circle. There are 1000 milliradians in 1 radian and therefore 6,283 milliradians (or Mils) in a circle. Thus, 1 Mil at 100 yards is equal to 3.6” inches (or 10 centimeters). Milliradian scopes are adjustable by either 1/10th Mil or 2/10th Mil increments (1 or 2 cm adjustments, respectively). Furthermore, 3.438 MOA is equal to 1 Mil at any distance or rounded down for simplification, .3 Mils = 1 MOA at any distance. To convert Mils to MOA, you can use this formula:
Mils x 3.438 = MOA
To convert MOA to Mils, this is the formula:
MOA / 3.438 = Mils
Why would you ever want to do this? Well, if you’re shooting with a spotter and one of you has a Milliradian scope while the other has a MOA scope, converting between the two can be crucial to making proper adjustments. It also comes in handy when using off the shelf ammunition that may have data on your ammo’s drop (at given yardage), in a unit of measurement your scope isn’t setup for.
Spotting
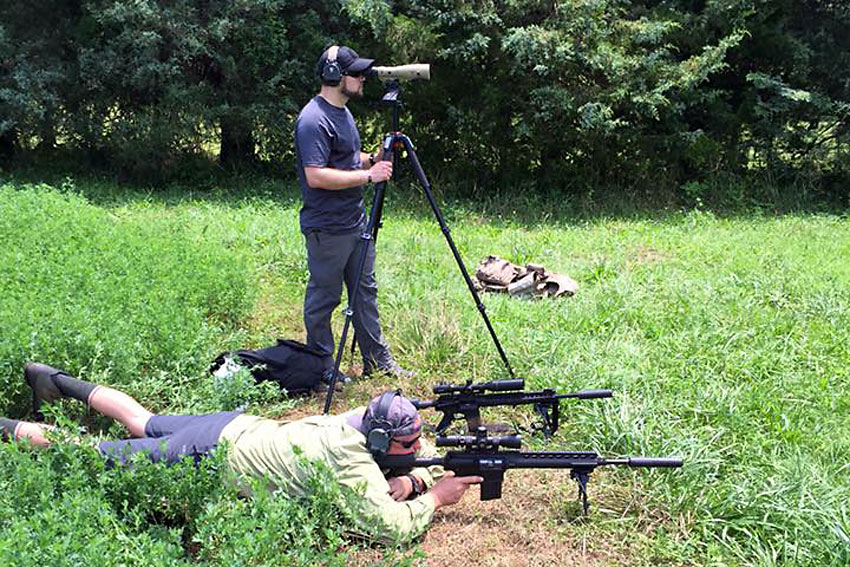
As you move back in distance, a spotter with a good spotting scope is crucial. While I was controlling recoil well, given the conditions, it was often hard to see whether I’d hit the steel we were shooting at. Not only is a spotter needed for this use, but for corrections on the fly for any fliers (misses) and another set of eyes for wind conditions. Often the mirage you see in the scope can be an indicator for wind, but reading the wind is a skill in itself and one I need more practice with. This can be where the MOA/MIL difference can get complicated. If your spotter is using a spotting scope in MIL and your scope is set up in MOA, you’d have to manually make the calculations or do your best to estimate the difference, which is never a good scenario.
We had this scenario and worked through it as best we could. We were using a Bushnell Tactical Elite LMSS Spotting Scope that read in MIL and the Leupold Mark 4 LR I was looking through was in MOA.
Ammunition
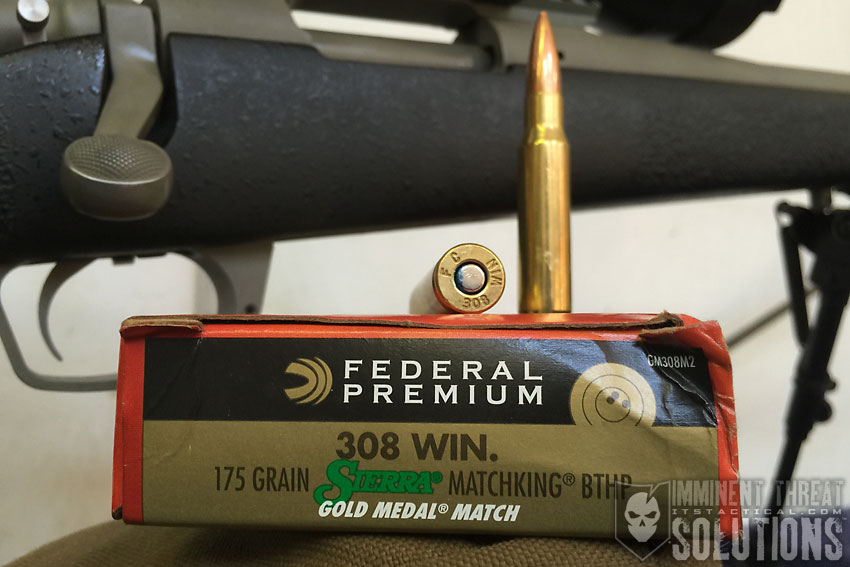
I touched on ammo a bit earlier, but ammunition matters. As you move back in distance your small mistakes get magnified considerably and using good ammo is just one way of mitigating mistakes. I was shooting Federal Gold Medal Match – .308 WIN. (7.62 x 51MM) 175 grain Sierra MatchKing, which is considered by many to be the gold standard for precision rifle ammunition.
The “best” ammo is relative and consistency is a large part in any decision, so whatever you use, make sure it’s consistent in your gun. Purchasing ammo that uses higher grade components and precise manufacturing costs more, but that’s to be expected with ammo manufactured at that level of precision. Just remember to match your ammo selection to your own situation.
The Shot
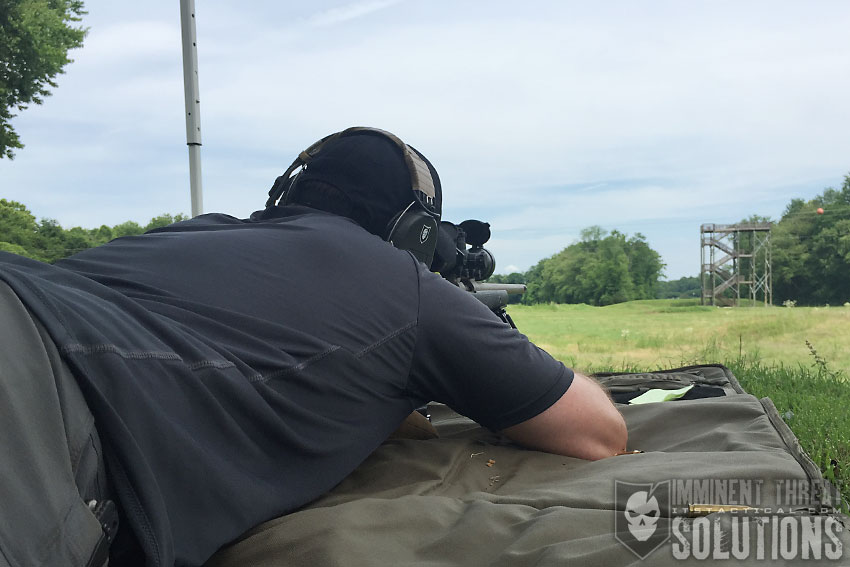
There’s so much more that goes into making a shot at 1,000 yards, but I feel that what I’ve covered are the essentials that I took on board that helped me achieve it. That and solid advice from Jason, who’s competed in events like the Mammoth Sniper Challenge. It’s an amazing feeling to achieve a shot at this distance with a .308 round and eye opening that the 35 MOA adjustment in my scope to make it happen, calculated to just under 30 feet of elevation. That’s some bullet drop!
I consider myself to be fairly anal retentive (some would argue the “fairly” part) and there’s a certain amount of that required to make a 1,000 yard shot. Precision rifle is just that, precision. So many calculations and movements go into putting a bullet where you want to at distance. I’ve really gotten into the geeky side of Precision Rifle and can’t wait to start building my own gun and take a course with quality instruction, like one of the offerings from Rifles Only.
Working to master these different disciplines is a lifelong goal and the more you practice, the better you become. Just think, Carlos Hathcock, the famous Vietnam-era USMC Sniper with 93 confirmed kills, didn’t have a laser range finder, Kestrel Weather Meter, or many of the fancy electronic gadgets that precision rifle shooters depend on these days. Gadgets are great, but the basics never run out of batteries.
ITS Article Resources
- US Optics Academy: Two Days in the Dirt Shooting Long Range Precision Rifle
- Mammoth Sniper Challenge AAR
- Long Range Shooting and Competition Notes from A First Timer
- Survival Trial IV AAR: Team Charlie Company
- Gearing Up For The 2013 Sniper Adventure Challenge
- The 2012 24-Hour Sniper Challenge: Notes on Limits and Gear
- Competition Dynamics Sniper Adventure Challenge AAR
Additionally, check out this well done and comprehensive article from Precision Rifle Blog.



Discussion